So I’ve been working on the HMV Freeway a bunch recently. I actually have it driving (until the CVT drive pulley, which I forgot to tighten properly left the building with a bang), but I’m backing up a bunch here to try to go over what I’ve done.
So, after the last post, I had fiberglassed-in the nose, but the exterior face was still very concave, because I didn’t have the mold working right. I ran with it, but it needed a lot of finessing.
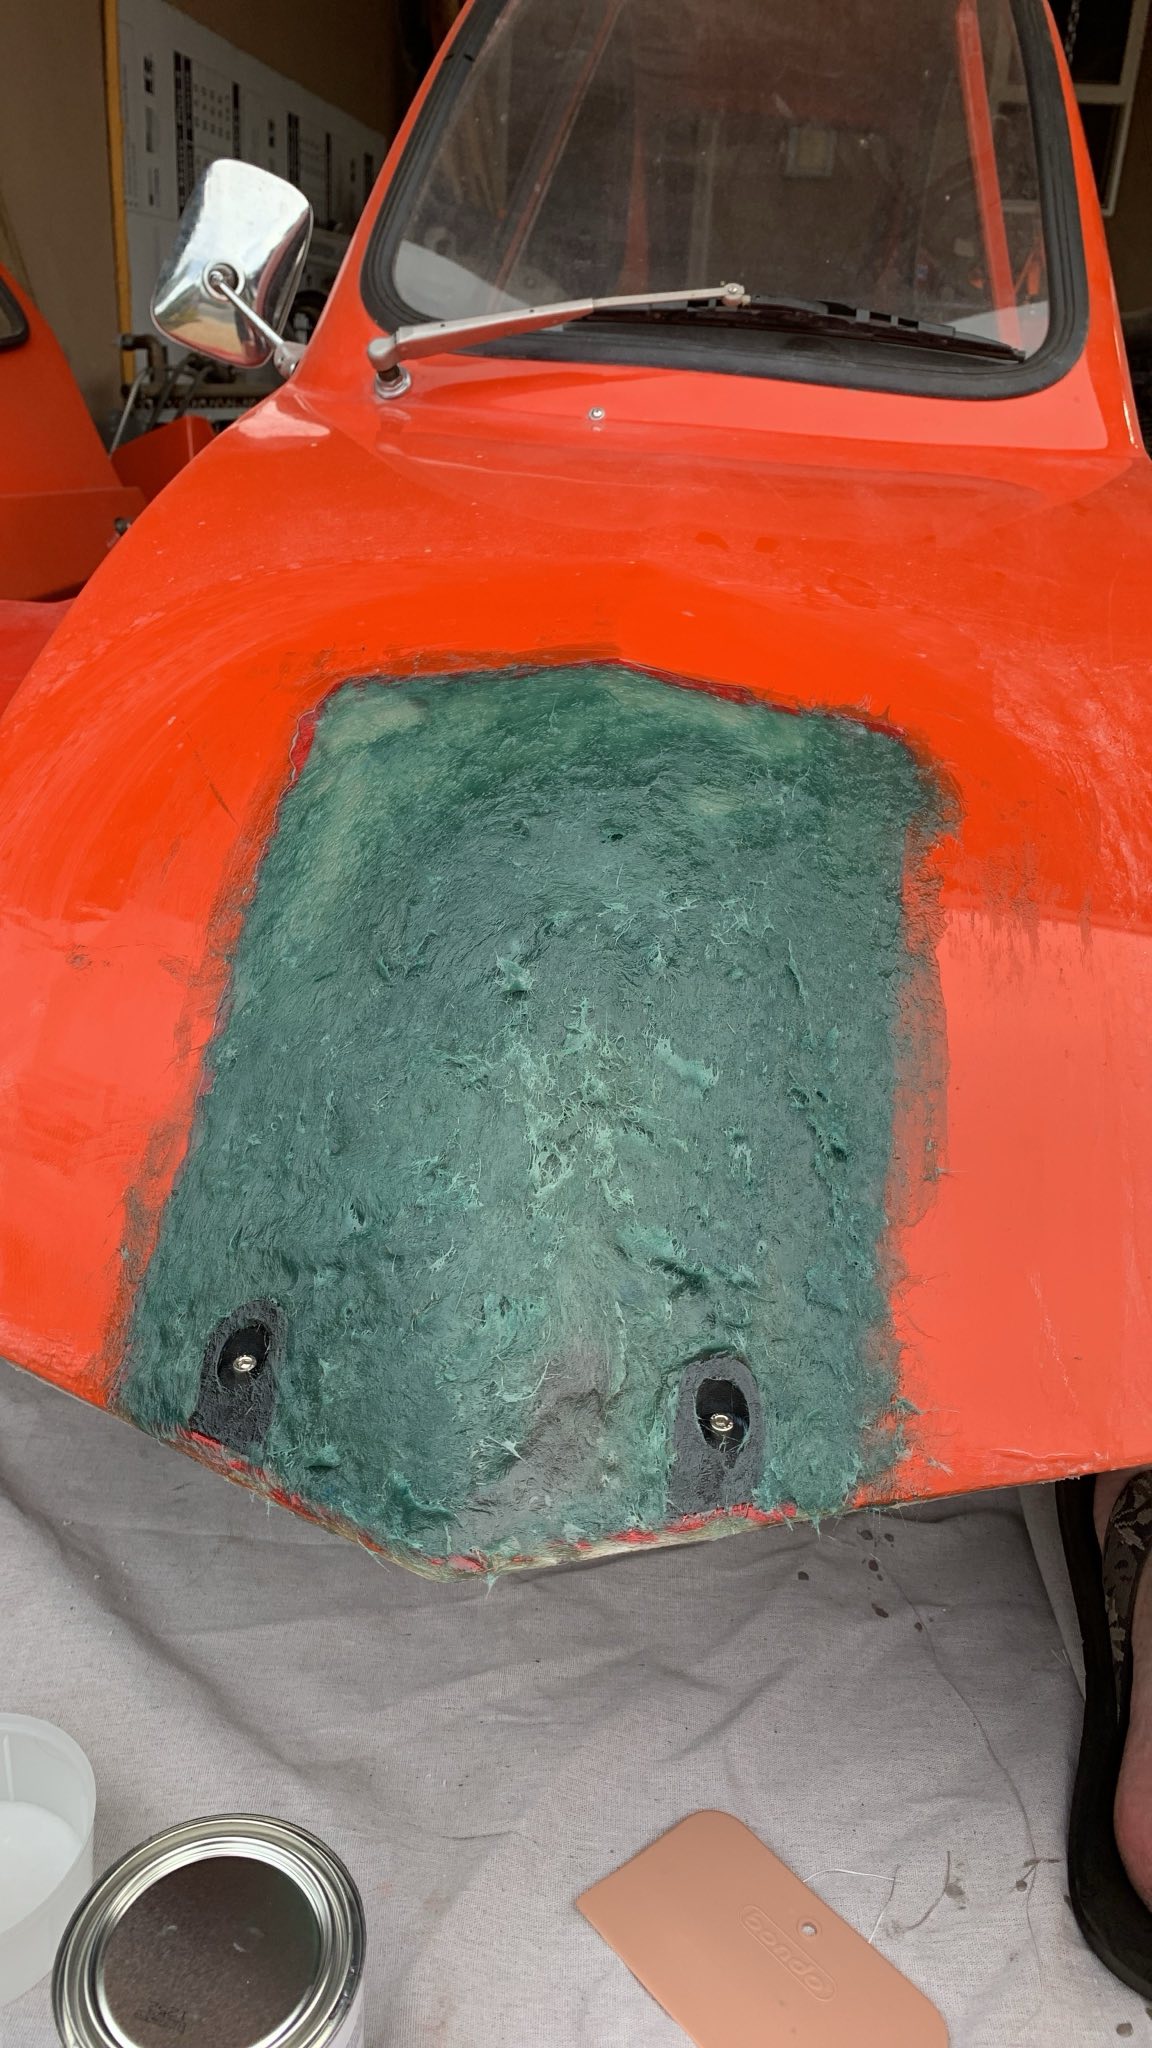
First step was do the major filling. This is 2 lbs of bondo hair (yes, really). Basically, it’s bondo mixed with chopped fiberglass. You can also see there are two little 3d-printed mold insets to shape the screw cavities in the mess. They were treated with parting wax, and came out very easily afterwards.
This worked well, except I had once spot that didn’t cure well. I suspect this was mostly because the fiberglass in this makes it very difficult to completely mix, and I was mixing way too much at once (basically, all of it), so I didn’t have time to be super thorough before it started cooking off.
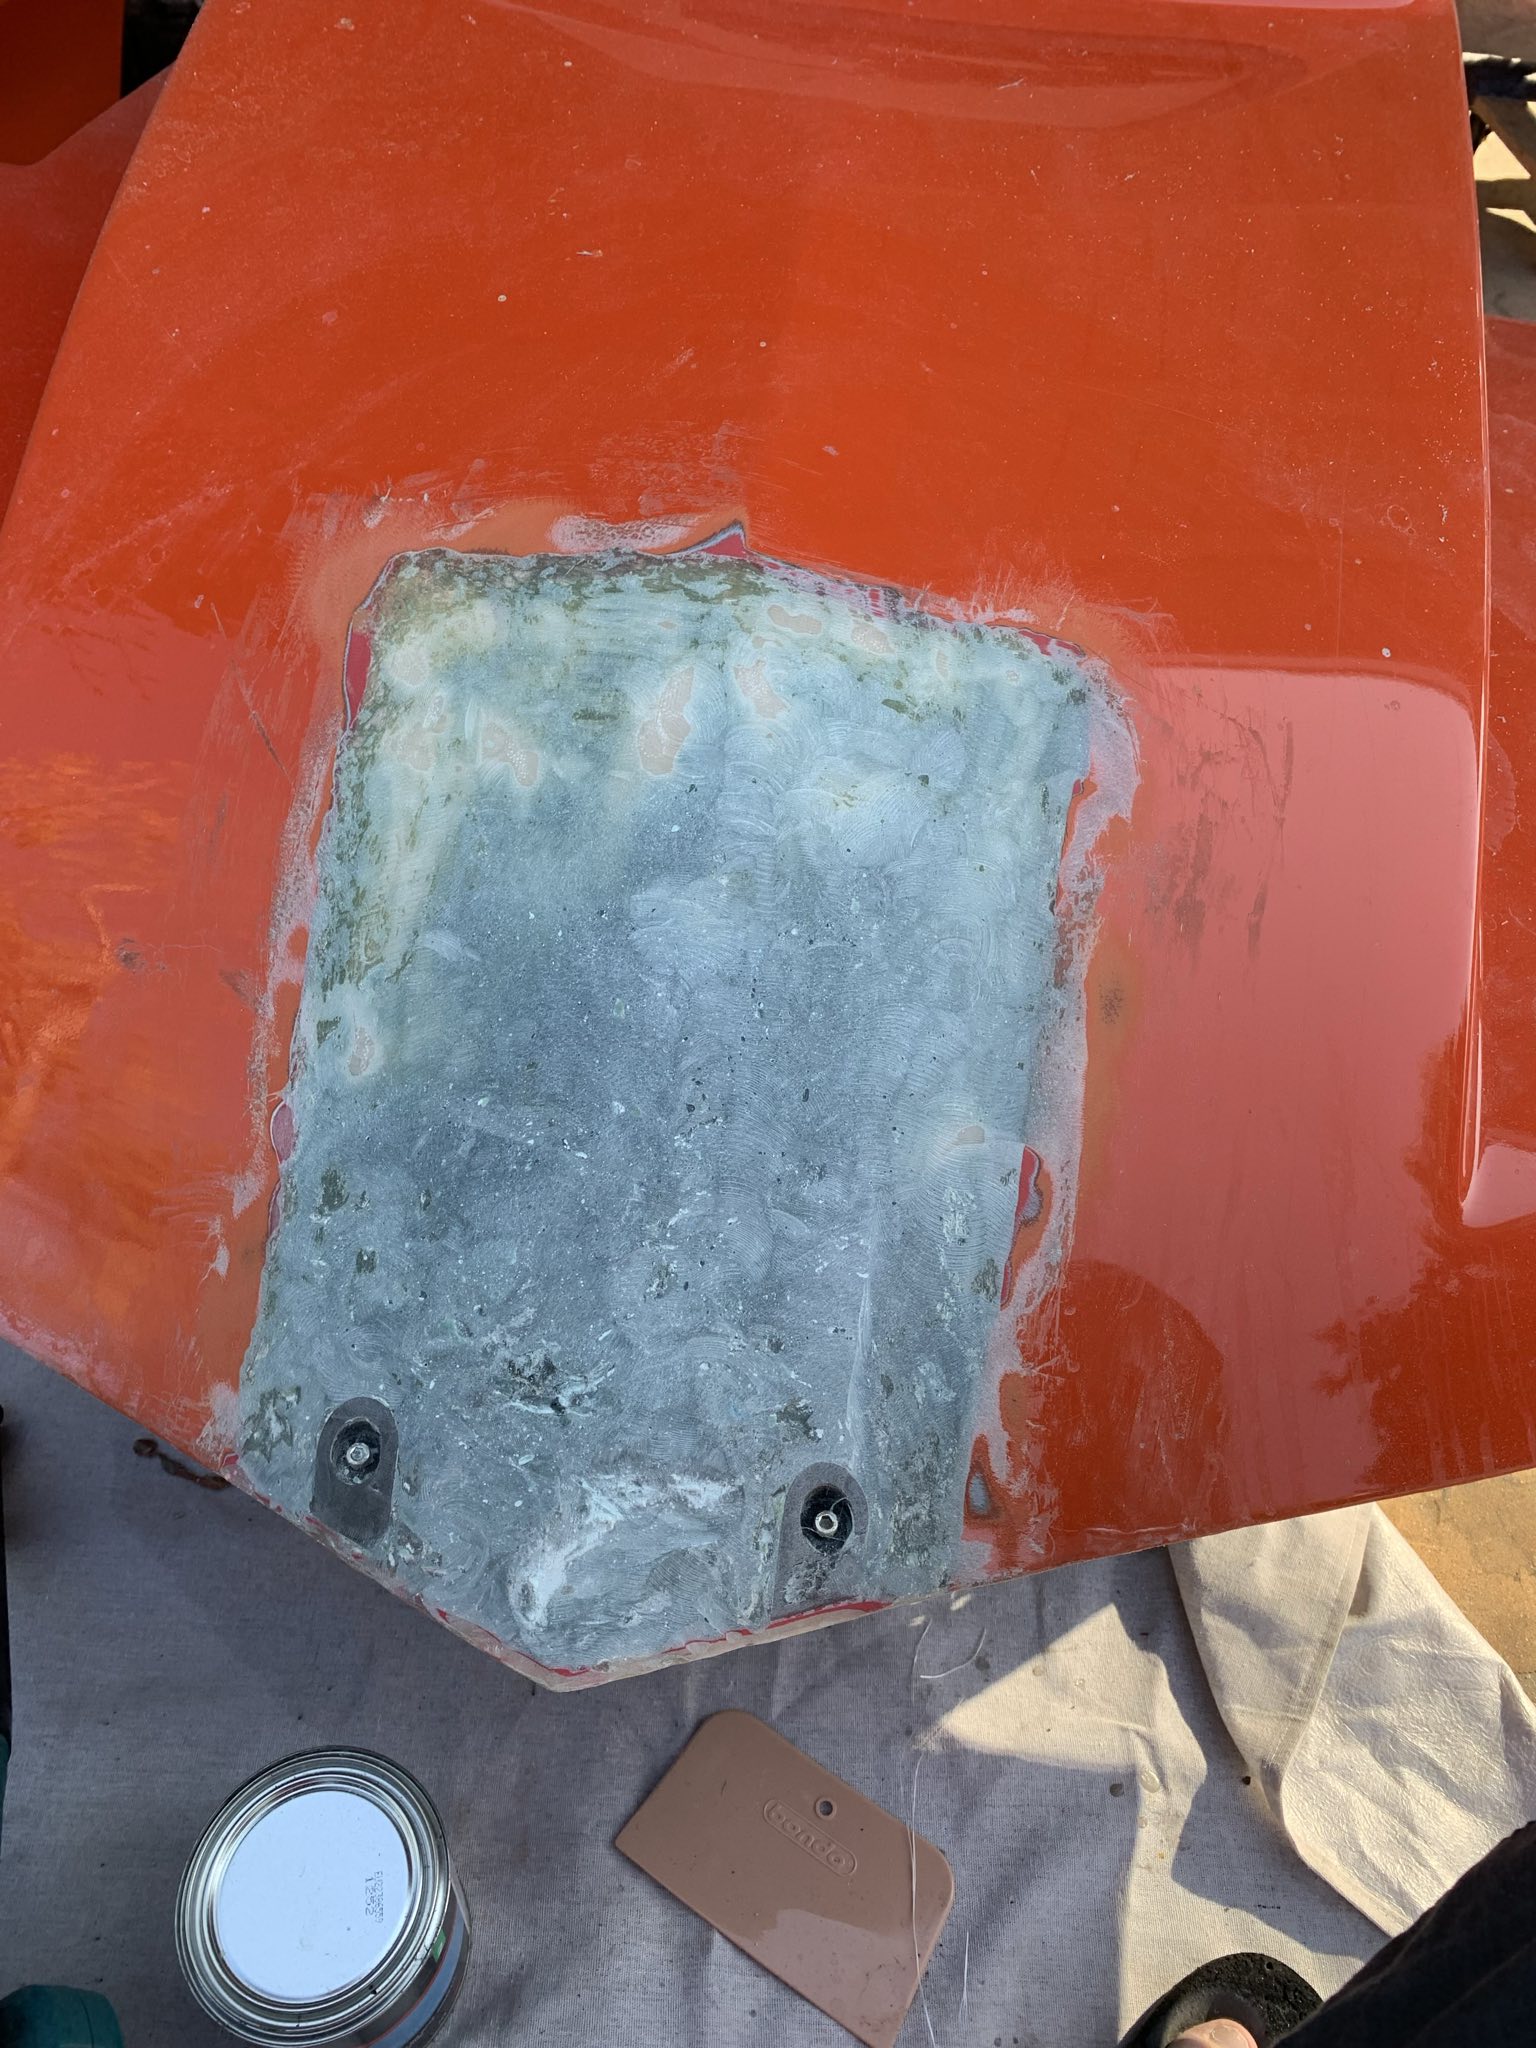
I then sanded it smooth(ish).
I then had the brilliant idea “why don’t I just cover all this crap with vinyl wrap.”
It turns out doing vinyl wraps well is freaking hard, and I think the whole nose of this might be one of the most difficult shapes to wrap properly. Most cars are mostly flat surfaces, or simple one-axis arcs. This….. is not.
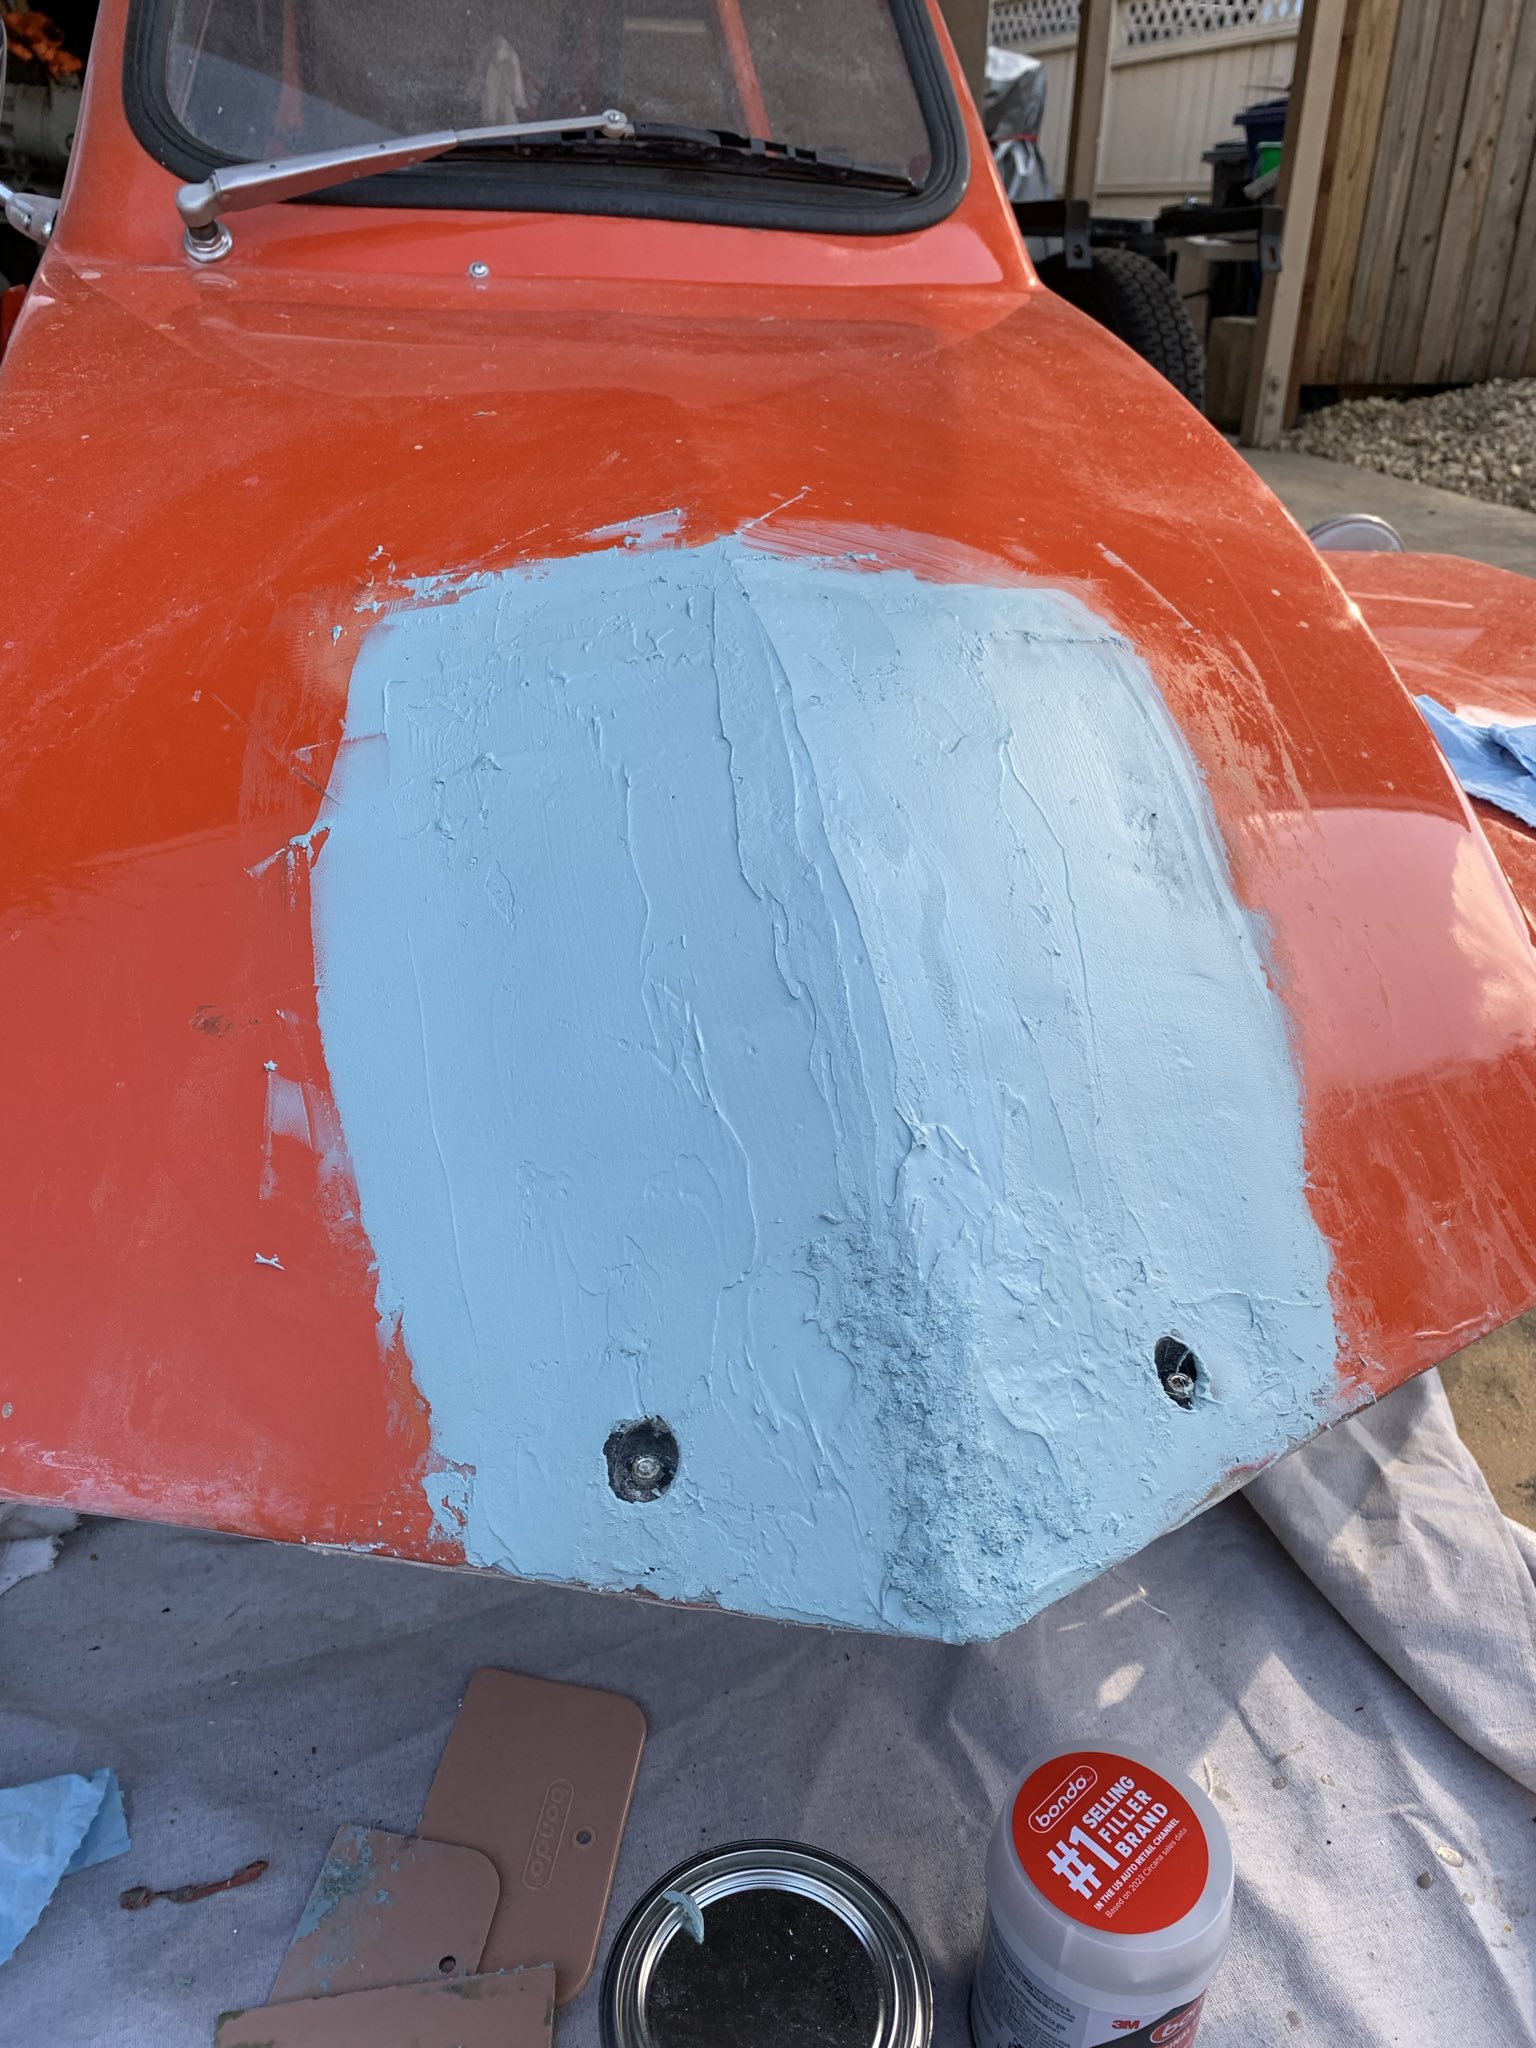
And then moved onto normal bondo.
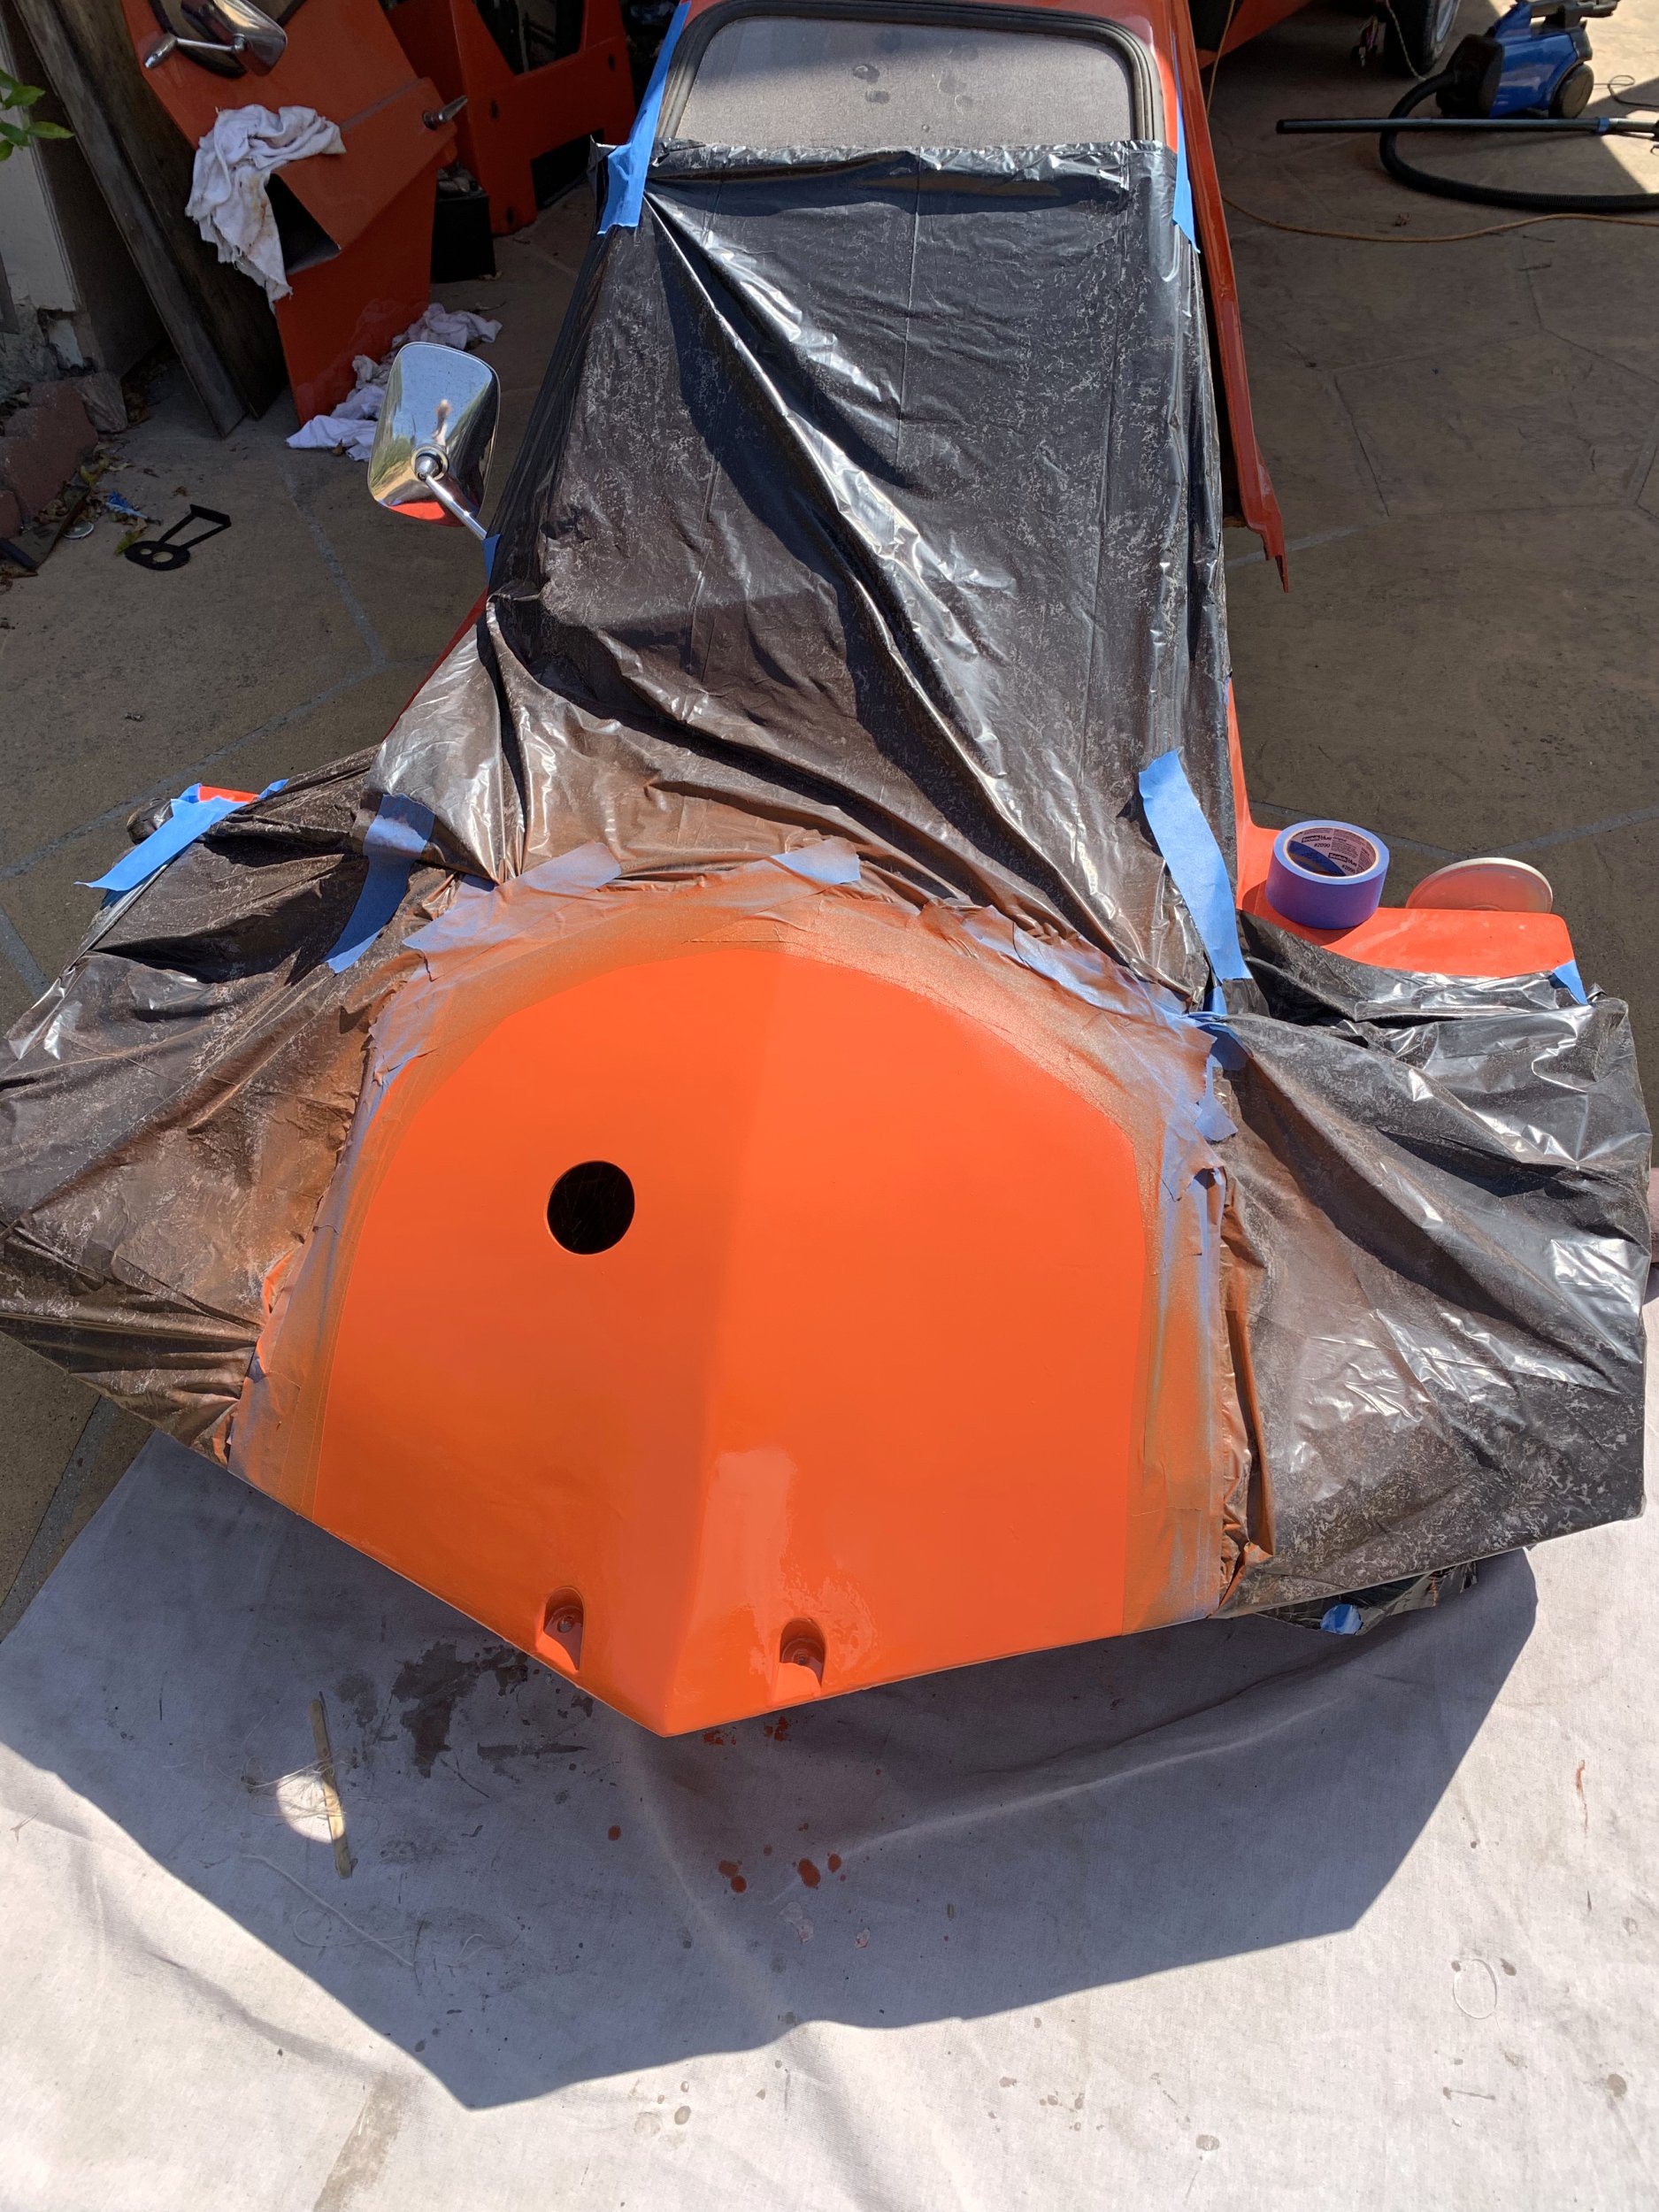
I then spent the next 2 or so weeks trying to get a good paint result that I liked. This is made harder by the fact that this has been repainted at some point (it originally Red!). At this point, I think I’ve tried every version of spray-paint orange I can find locally.
I’ve also done a few more sanding/bondo cycles. The crease carrying over the nose is still not quite where I want it to be, but I’m giving up at the moment.
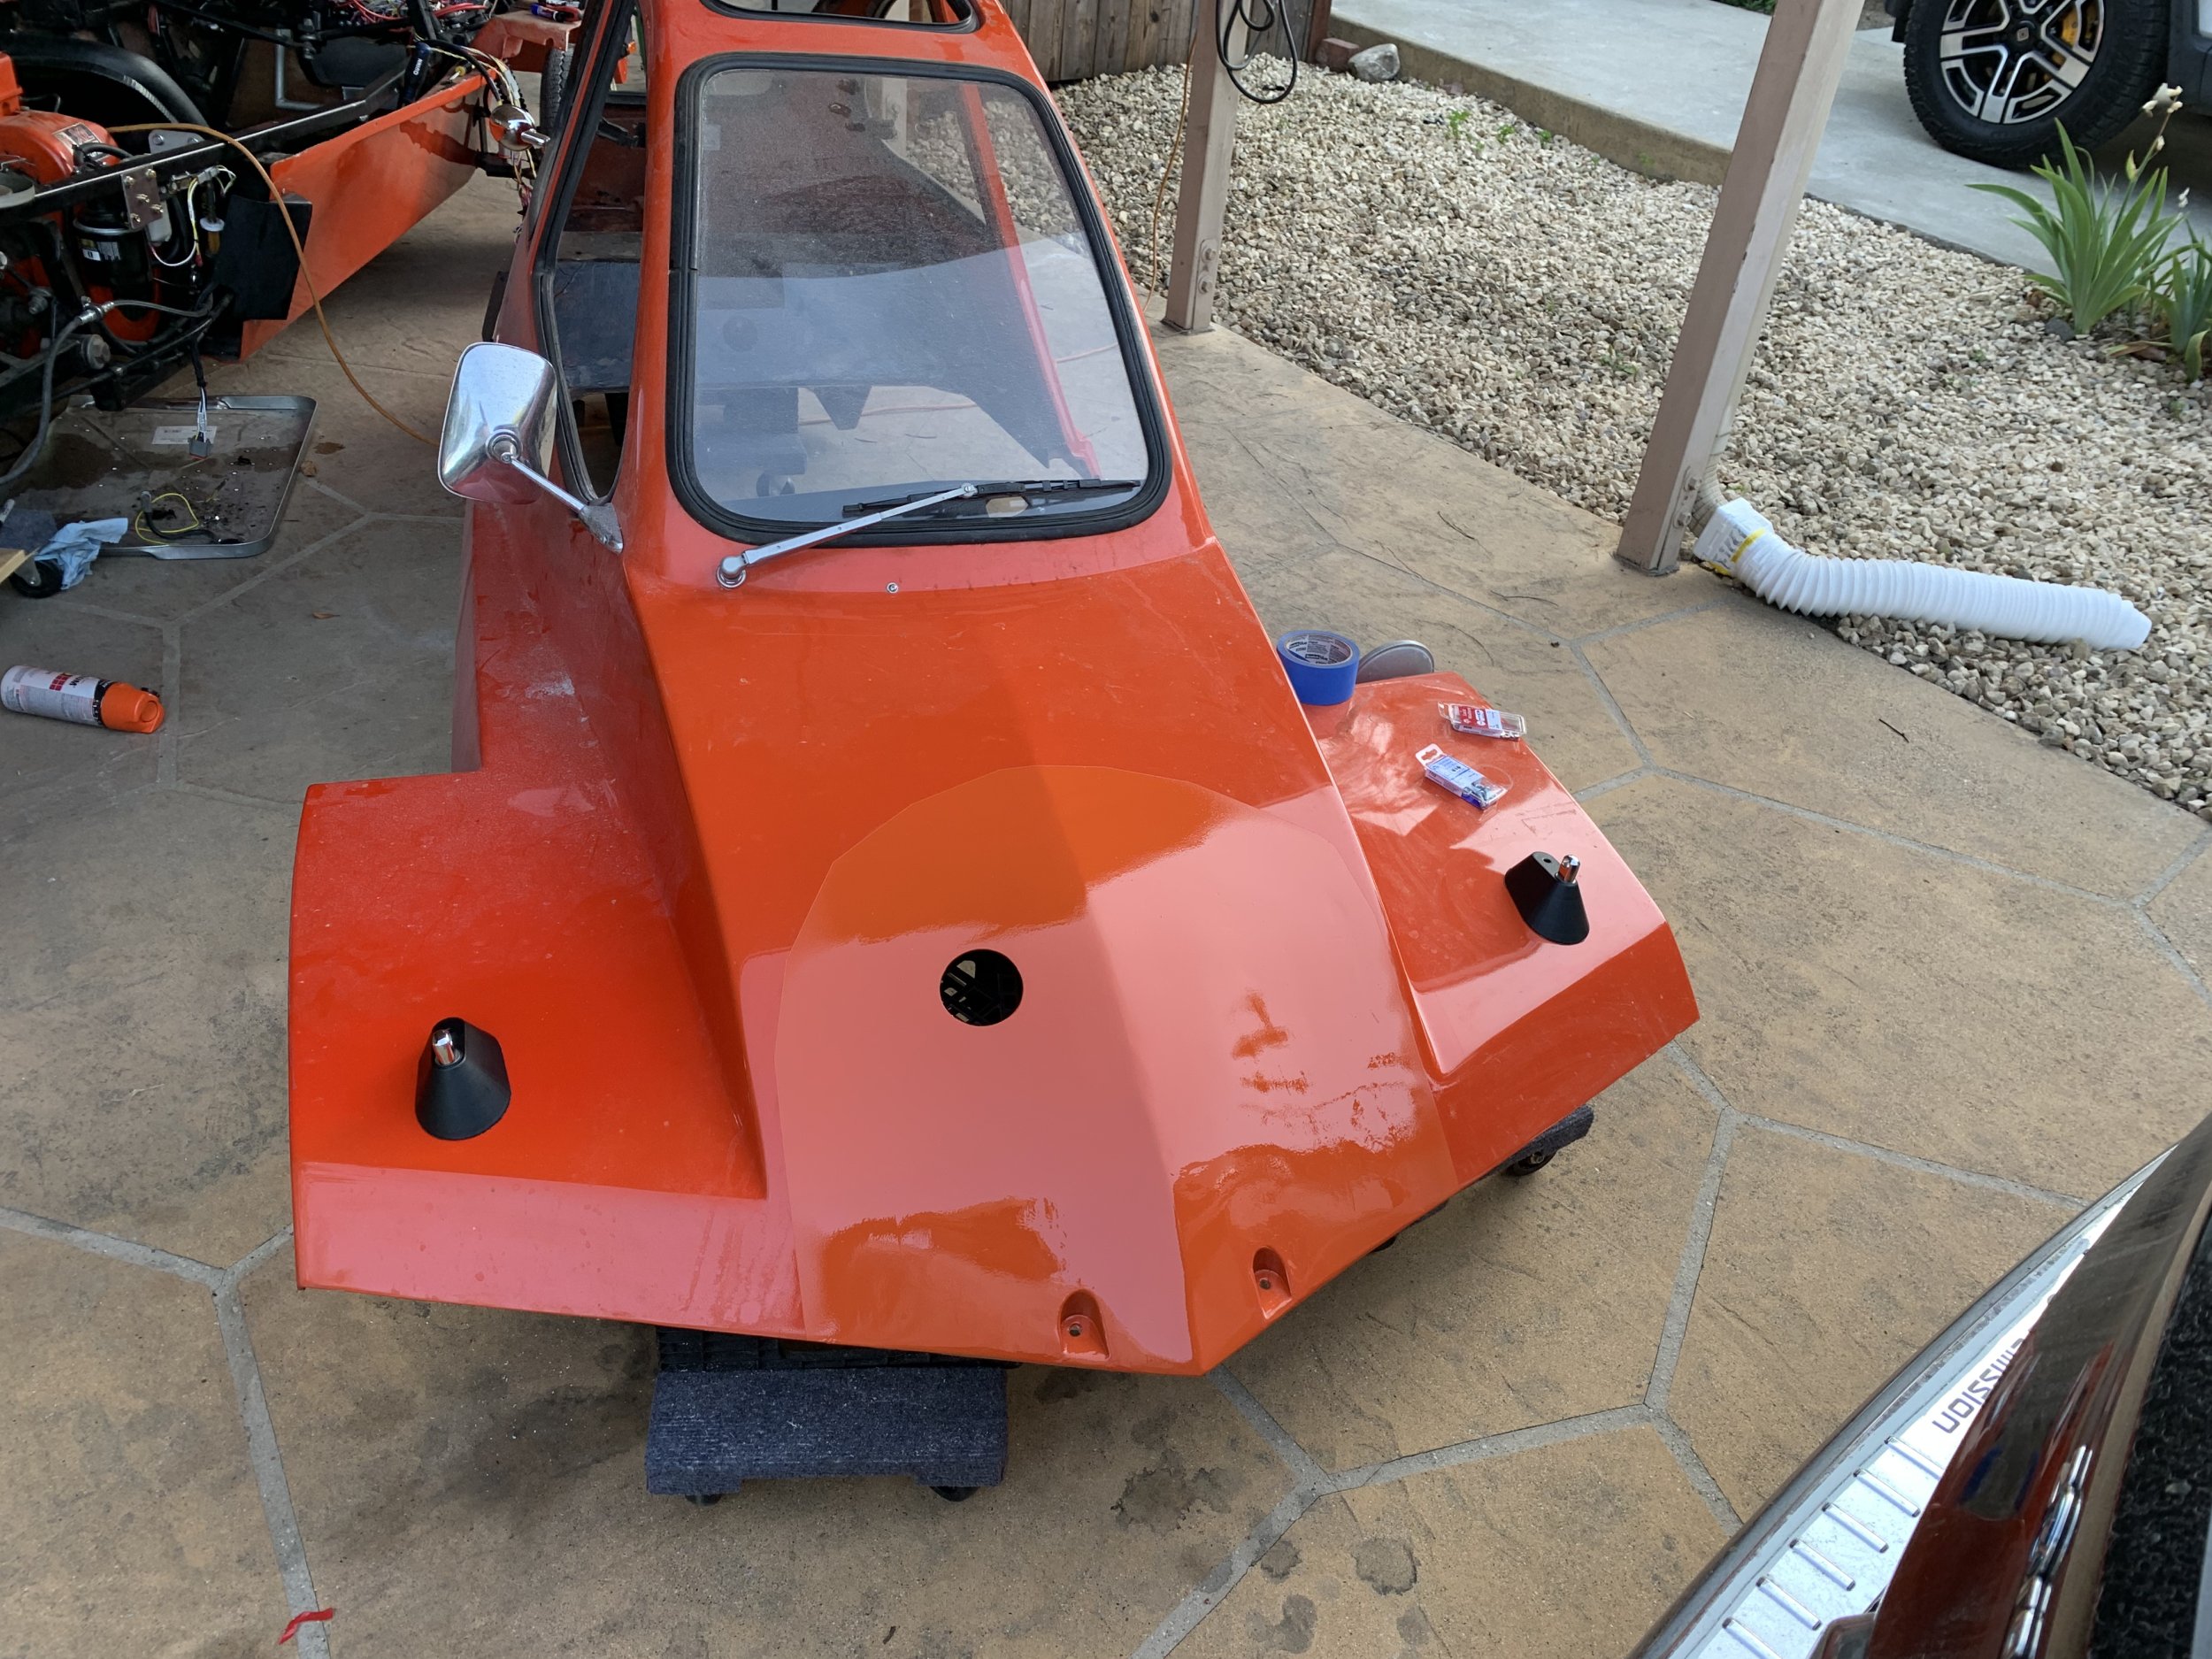
I had ideas about the thing being two-tone, but that would involve shaping the color on the front a lot more carefully. I may revisit this idea.
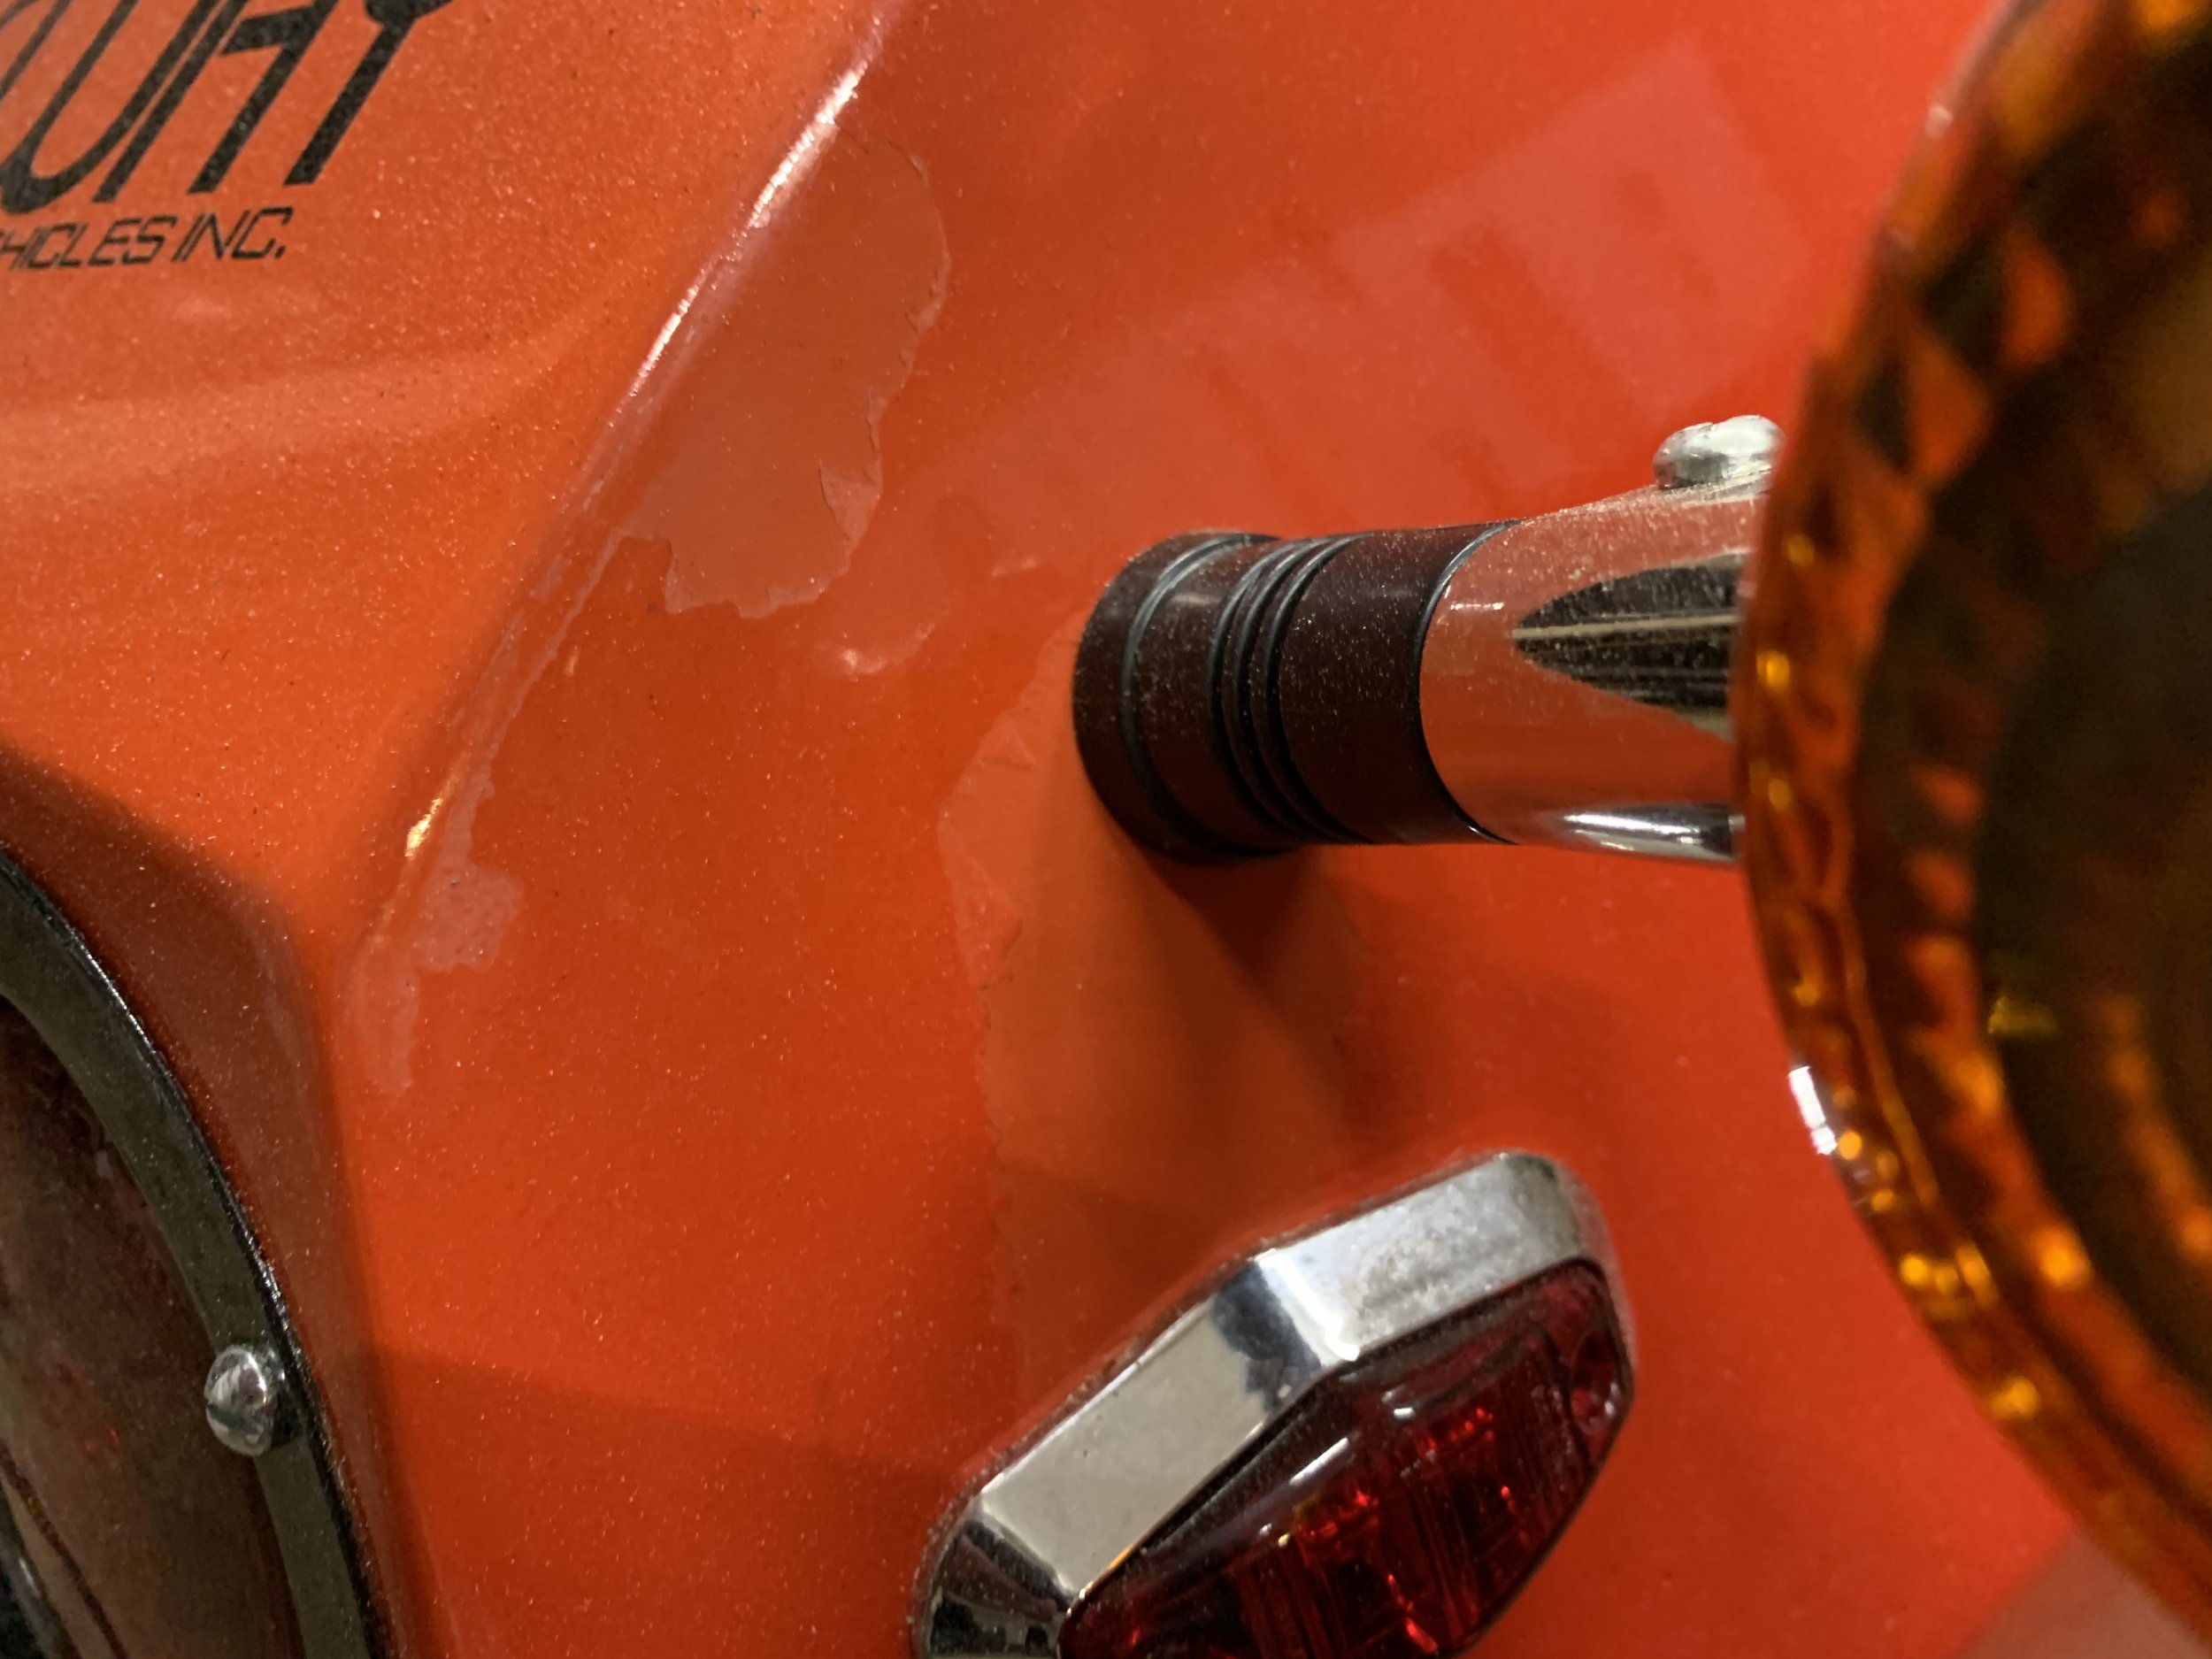
I’ve also had a bunch of other stupid issues that make the paint even more complicated. I 3d printed some light mounts, and then installed them:
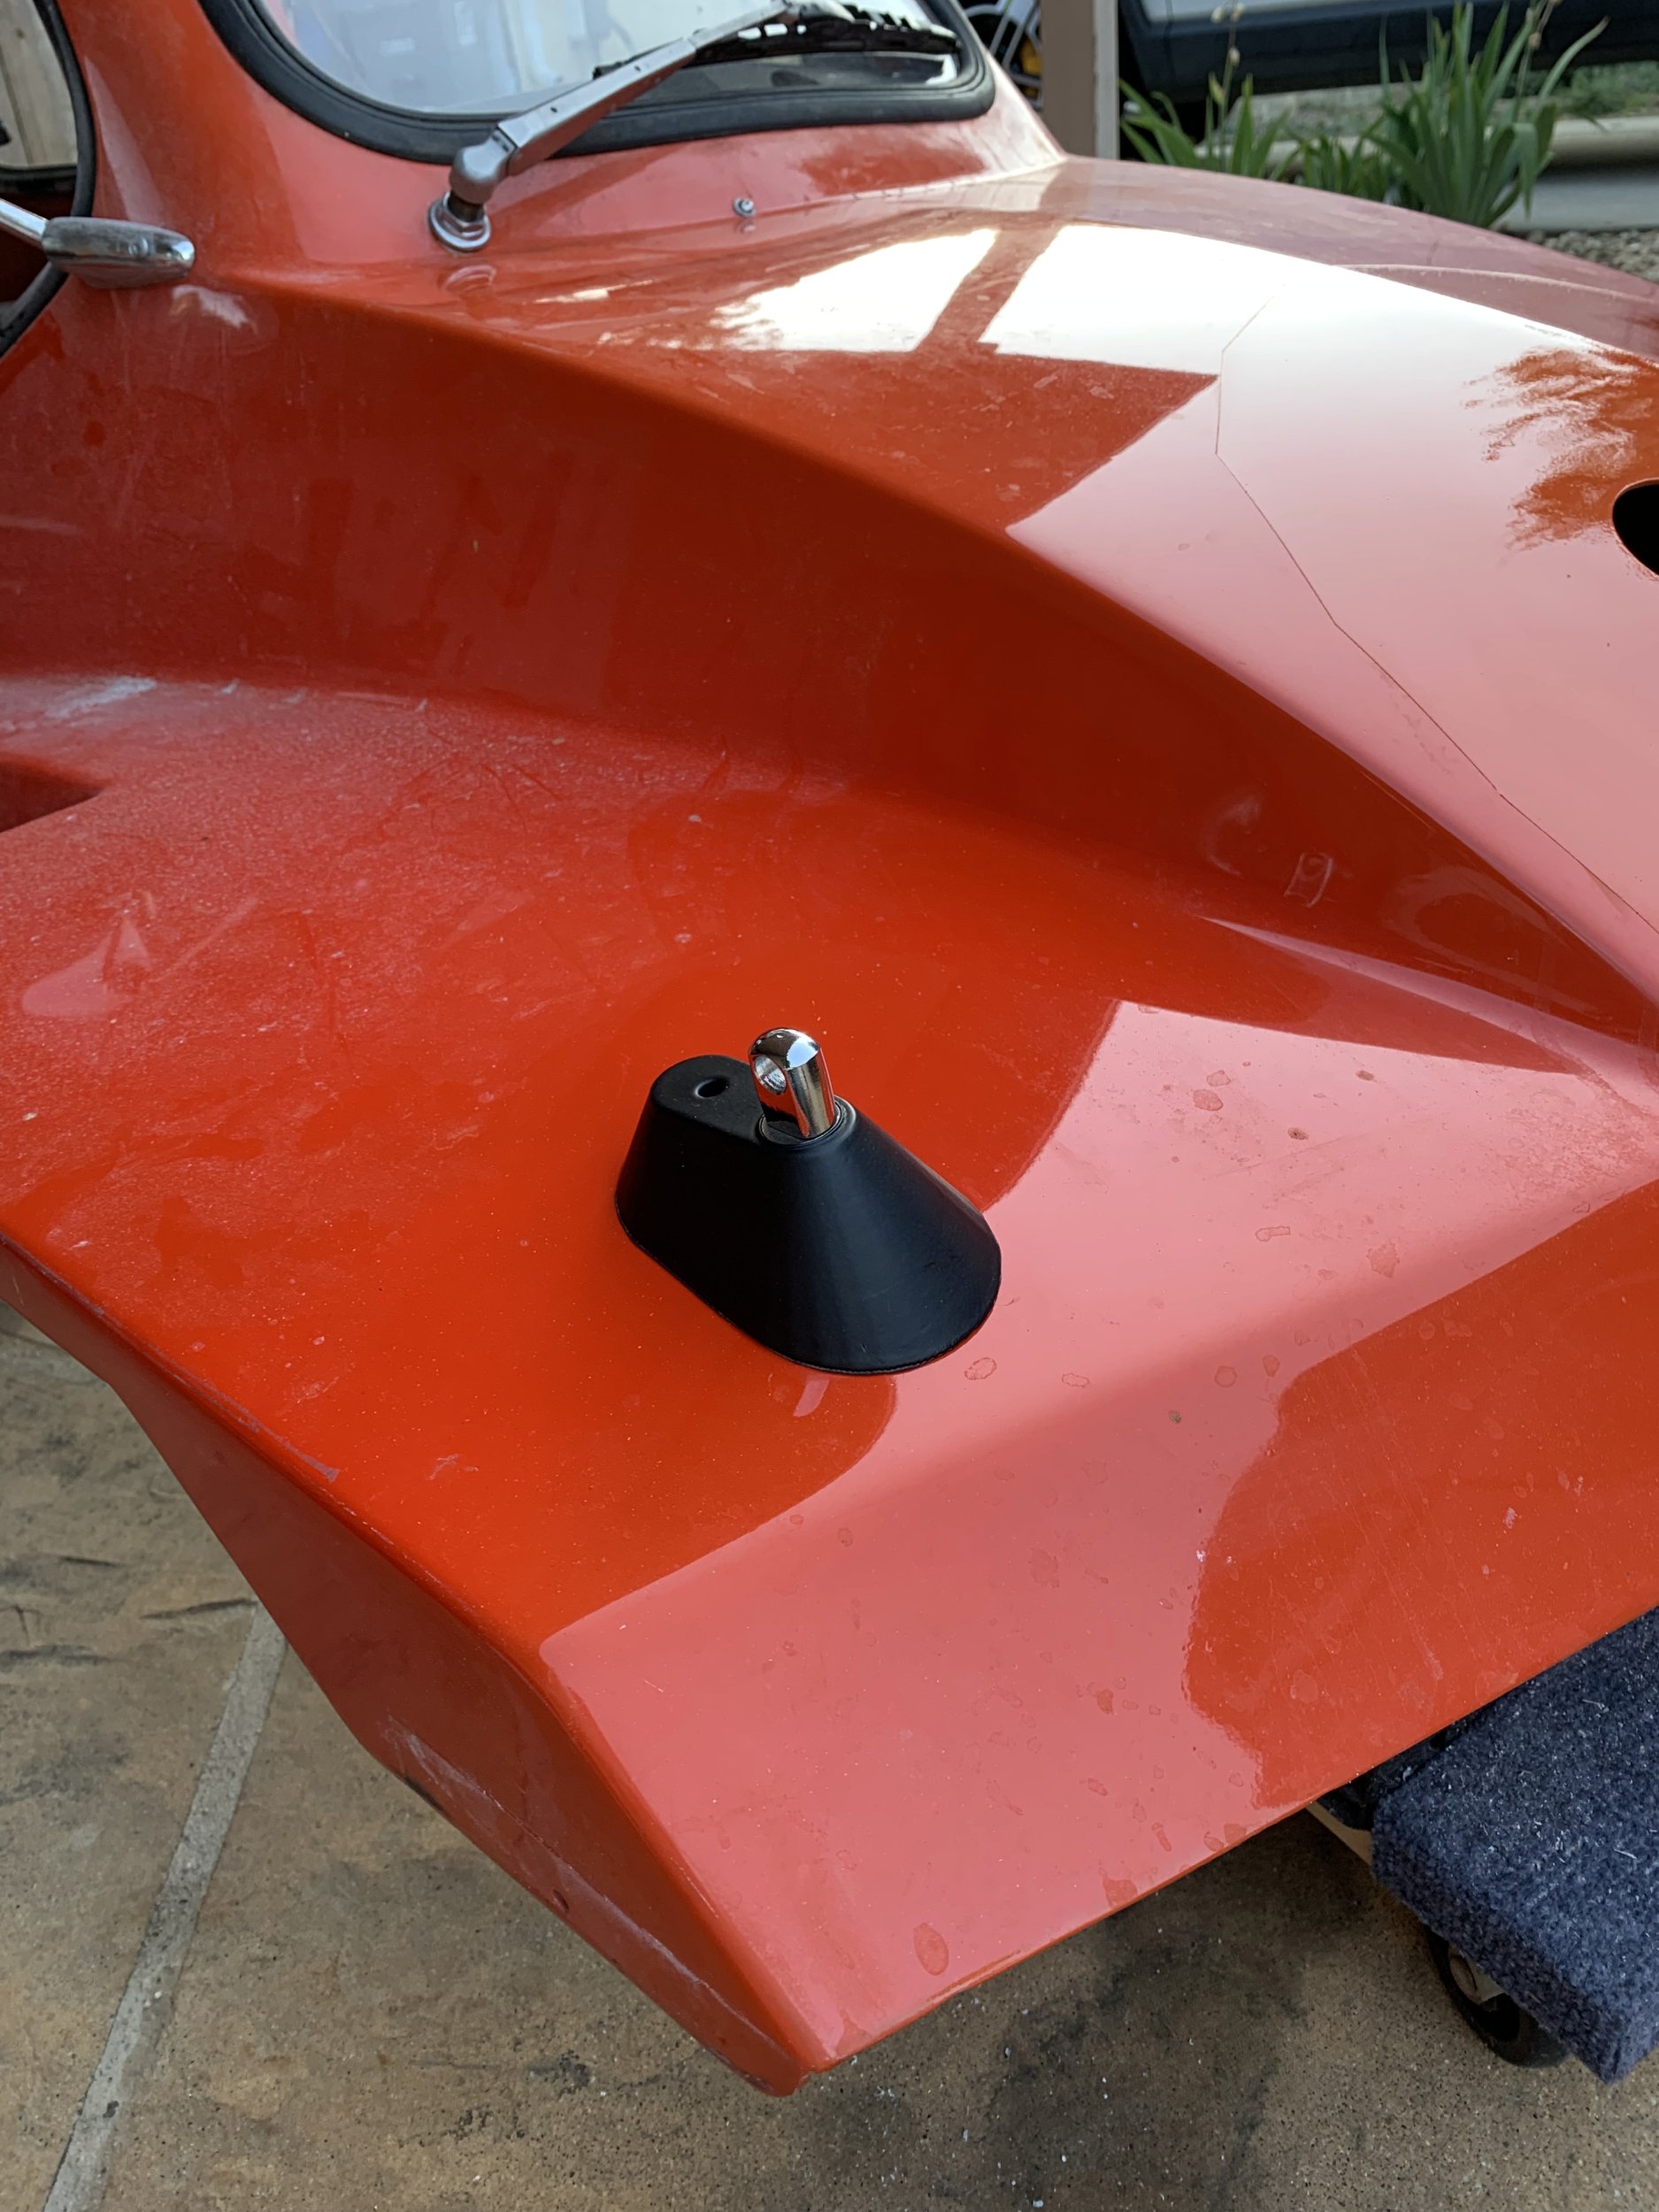
Of course, because I’m an idiot, I put the left-side one on the right, and vice versa. I also used some foam rubber double-sided tape to seal them on, and when I went to pull them off, well:

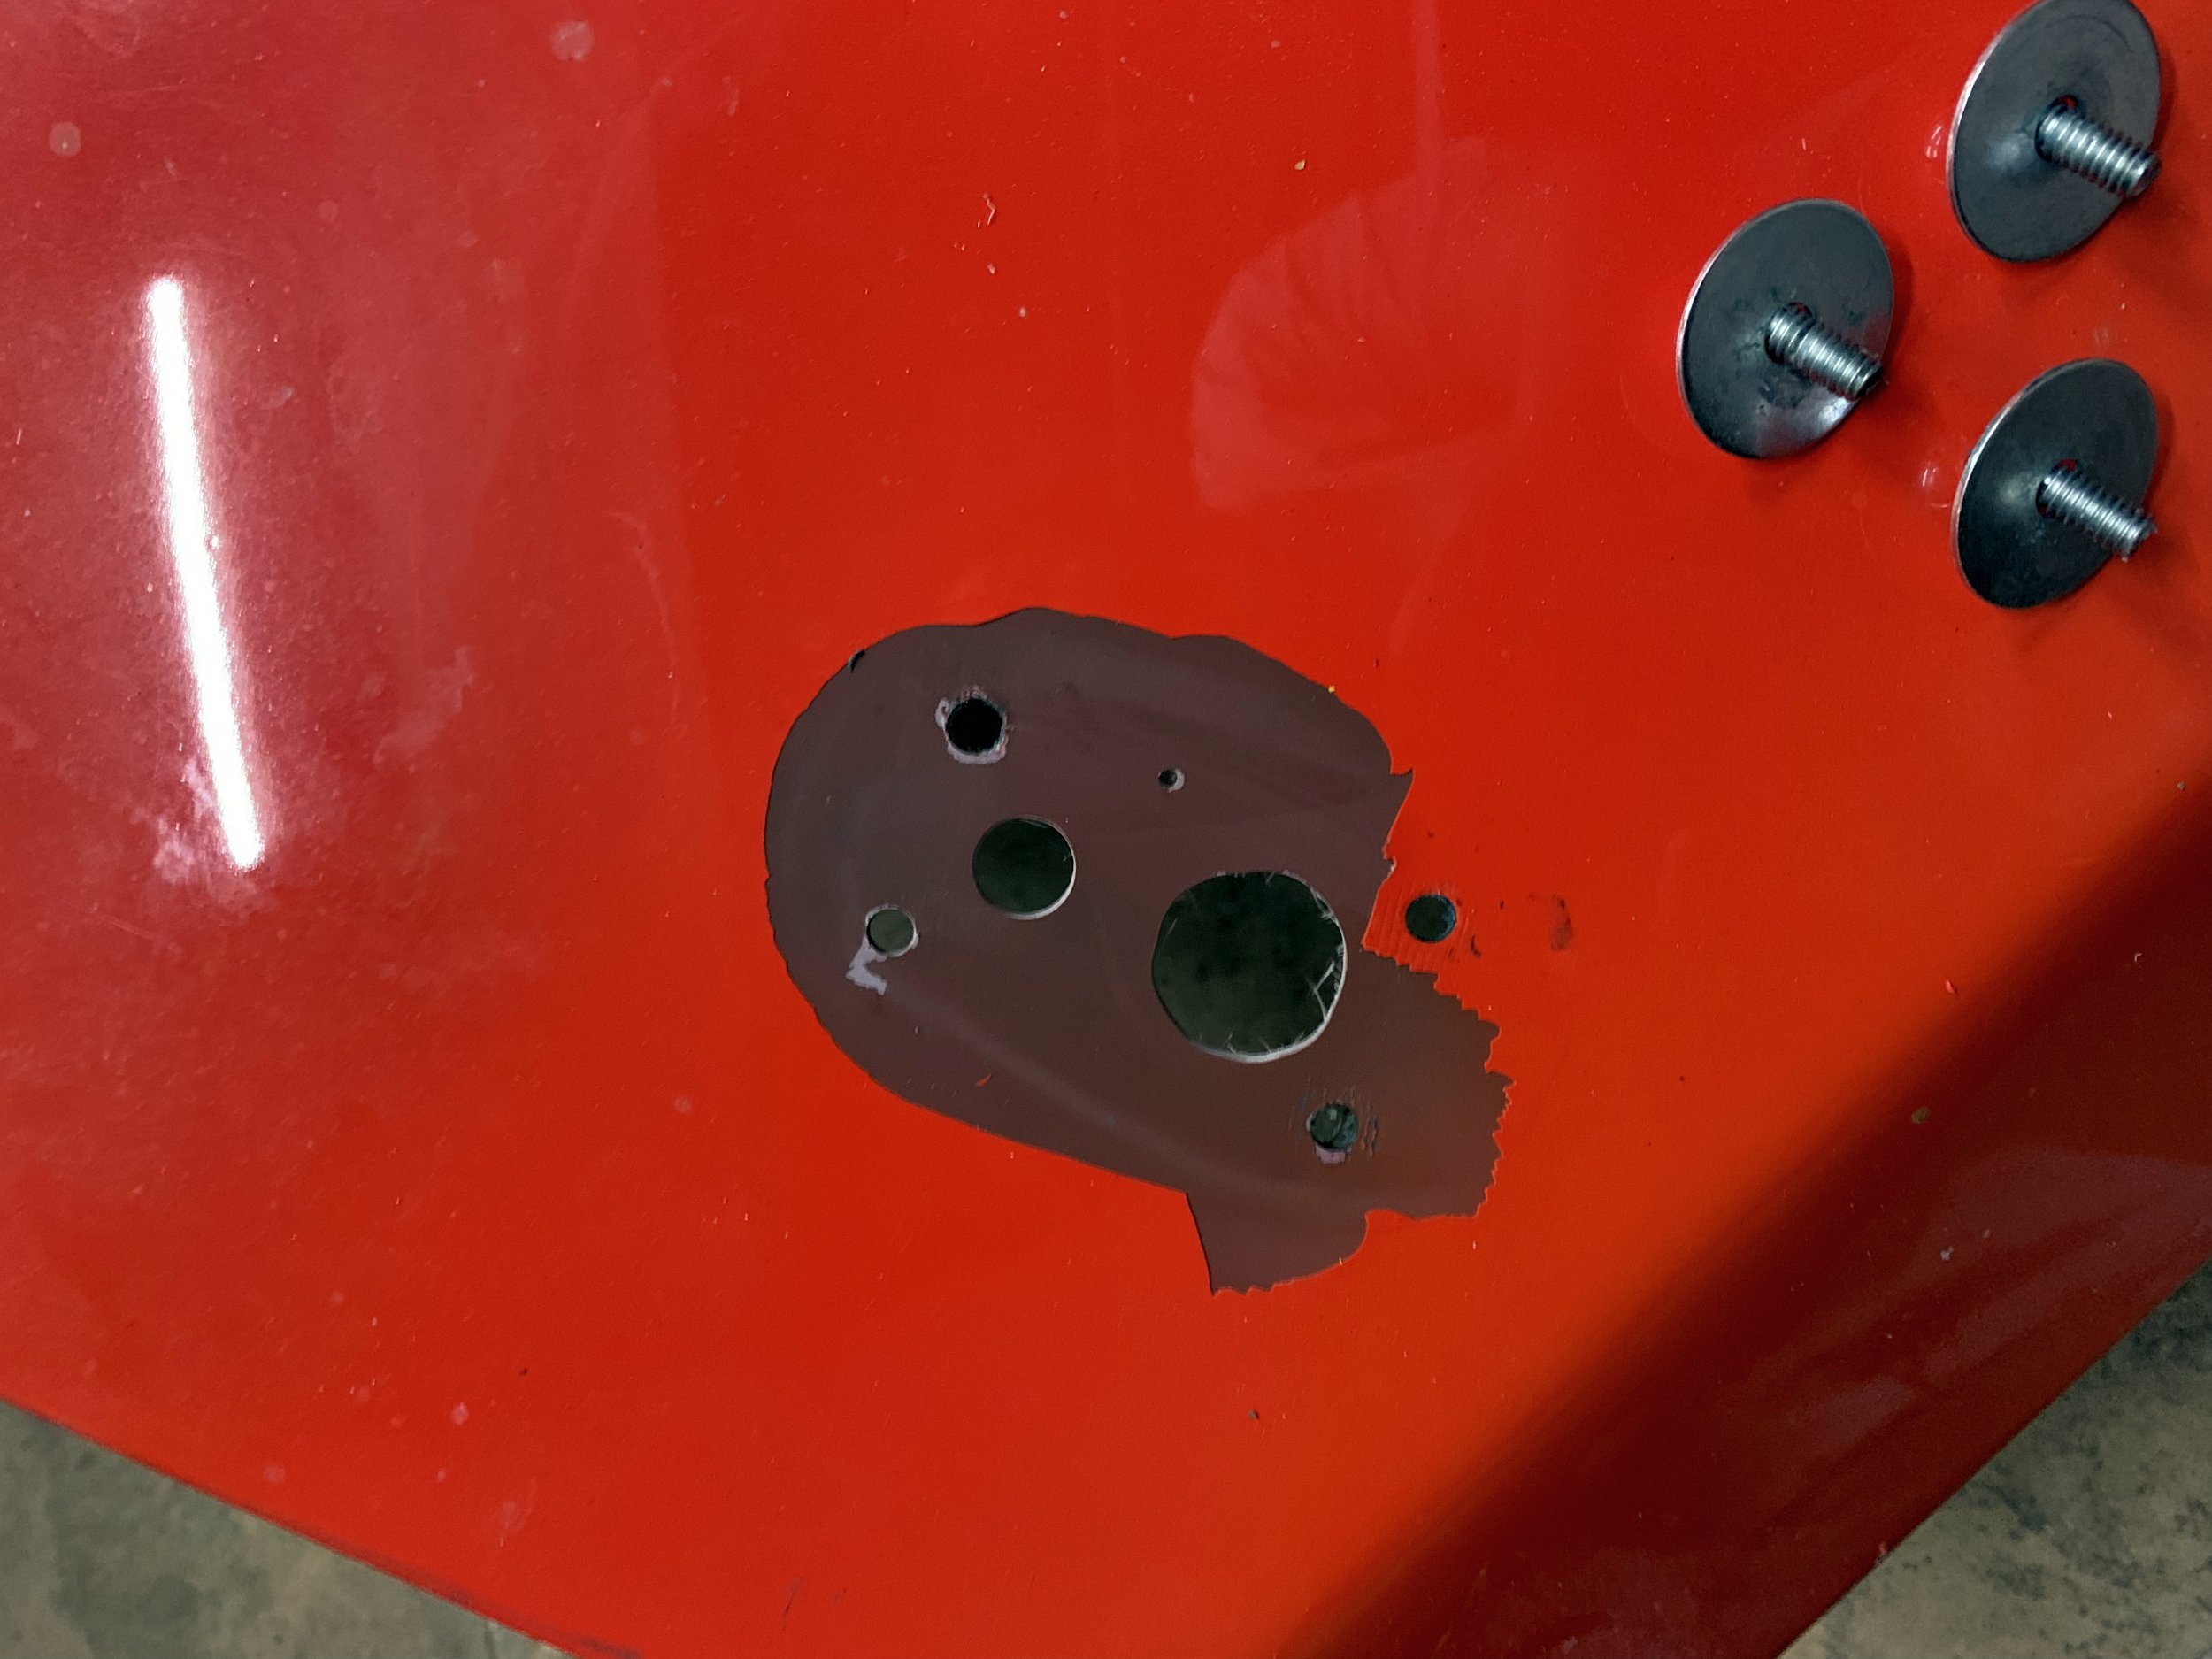
The paint just peeled off in sheets. There were large sections where there was no double-sided tape involved, it just flaked free:
Yep, whoever did the paint the previous time did a shit job, and the color coat delaminated from the primer. I’m confident that there is primer becase when I sanded through it on the nose area, it comes up bright red. The dark burgundy is between the orange paint and the red.
This isn’t the only area where the current paint-job is…. not great. On the rear section:
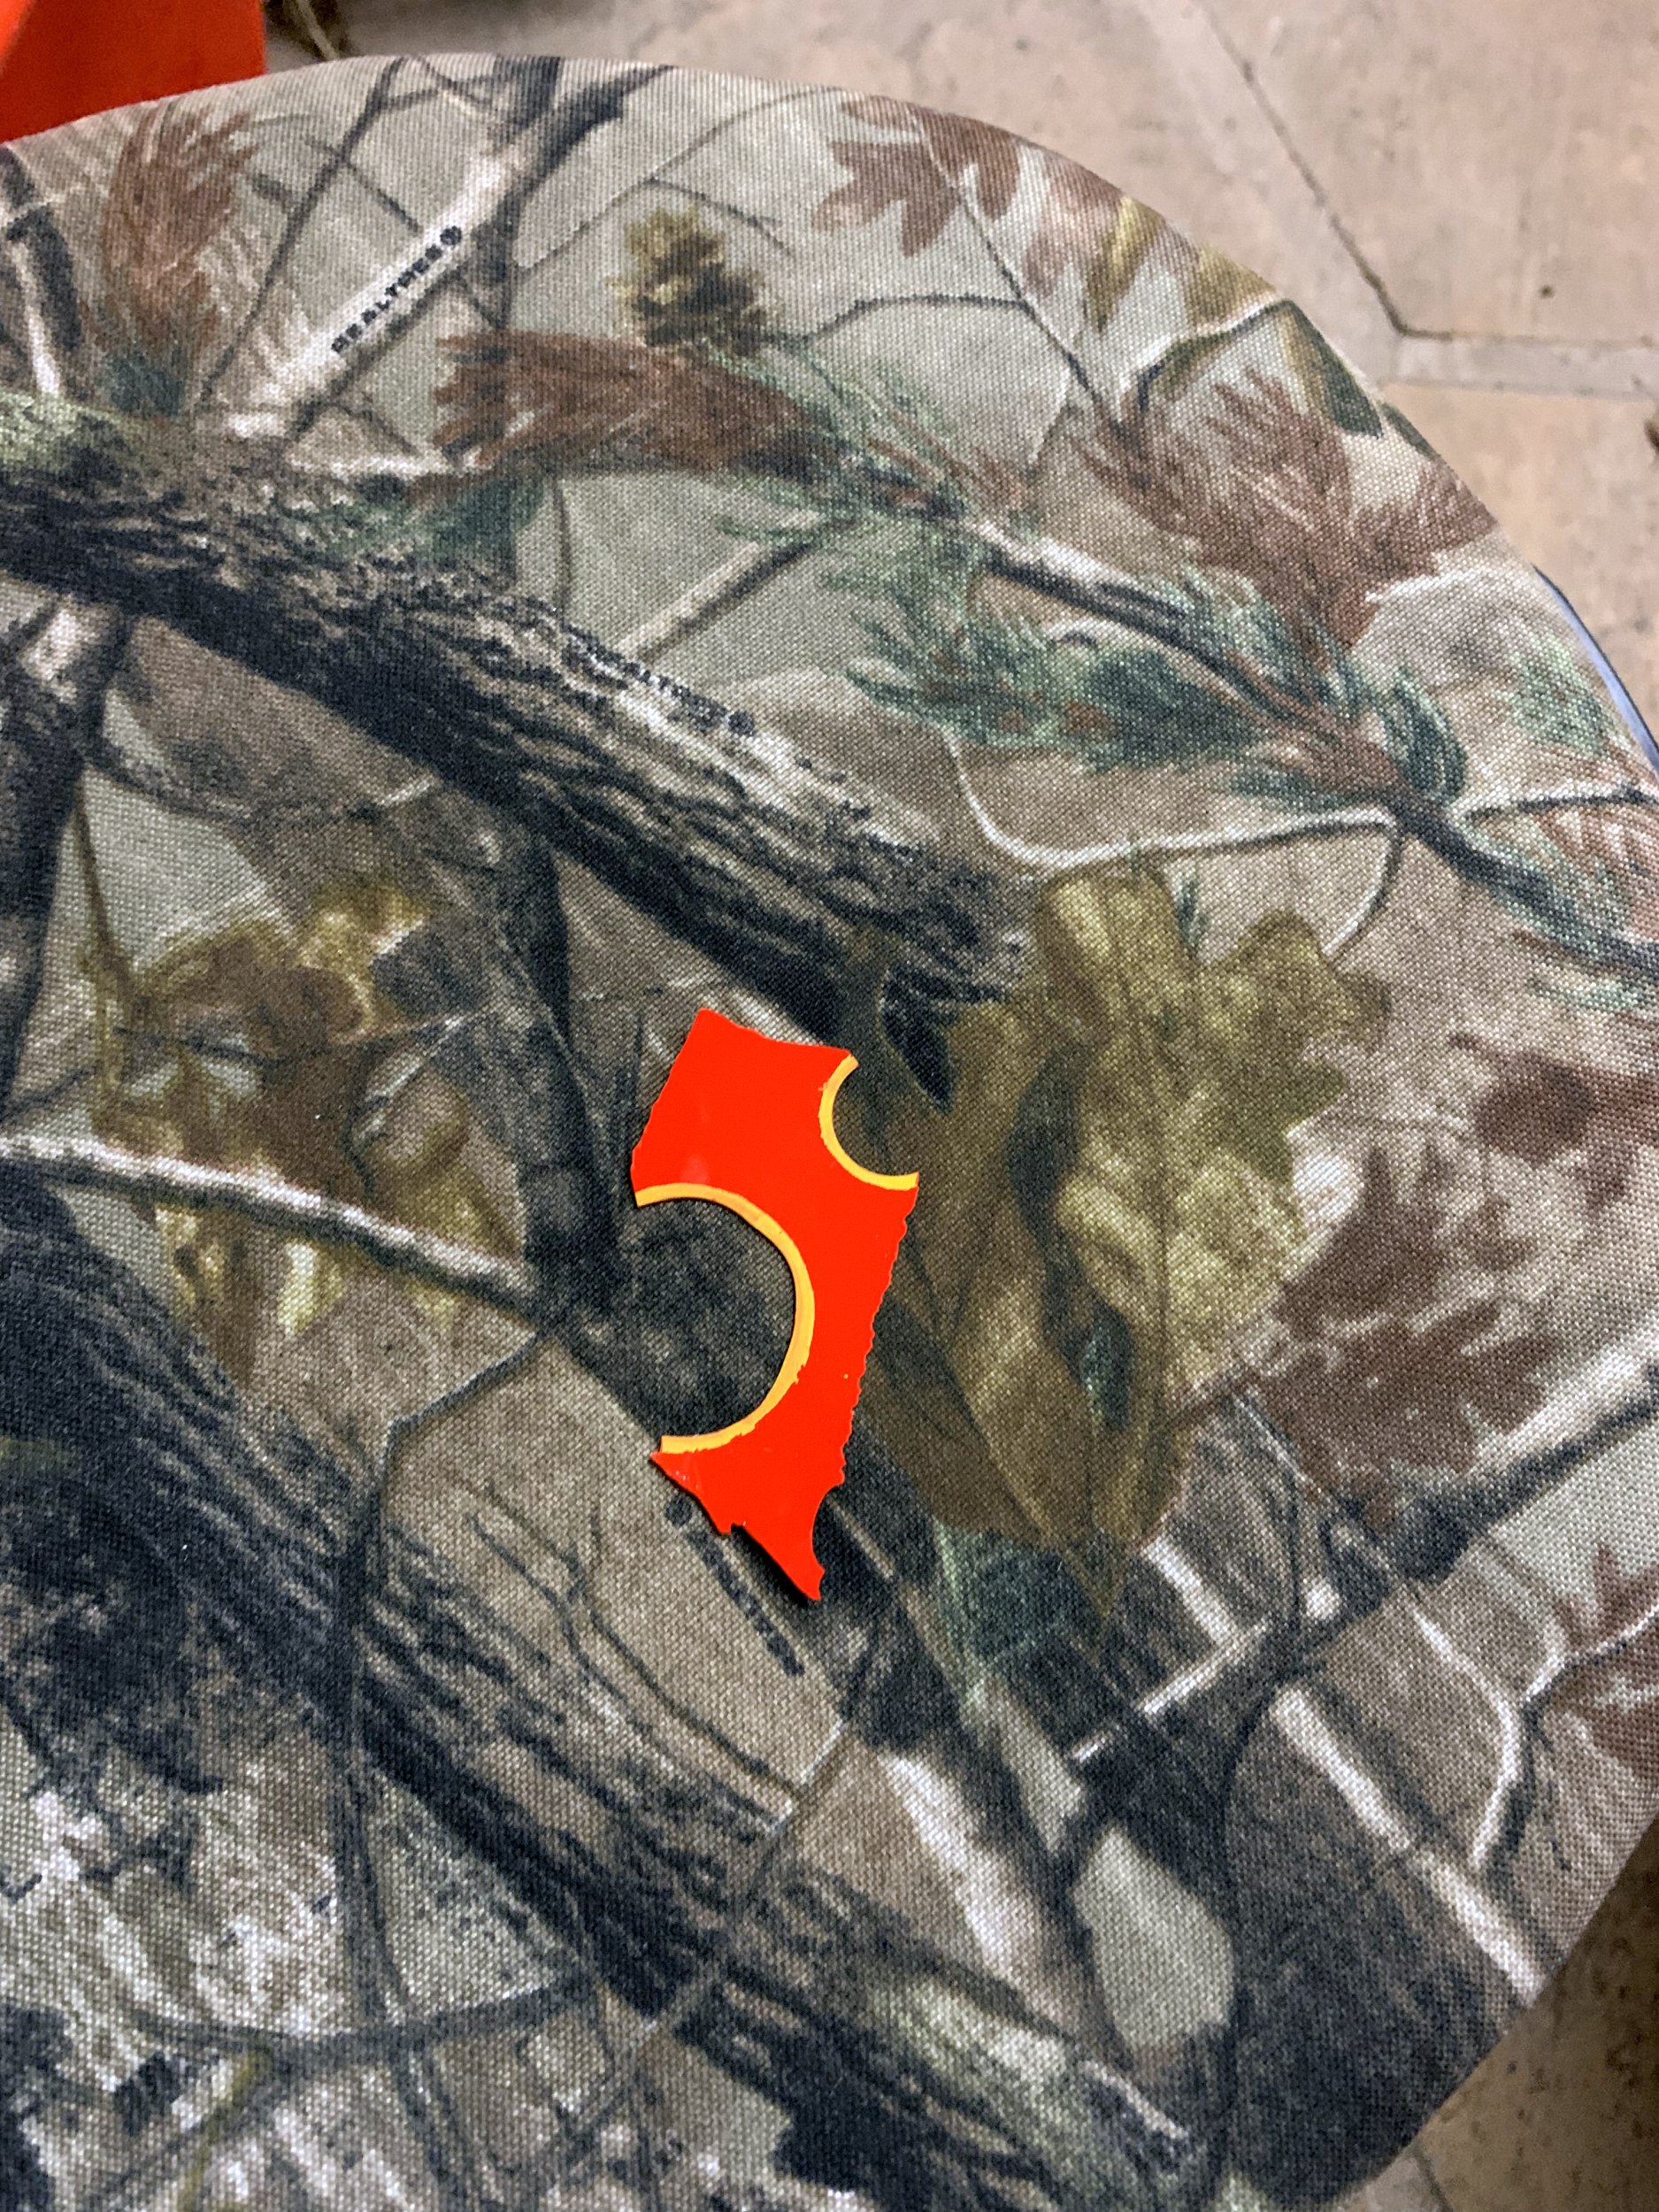
I installed some additional turn-signal indicators from a motorcycle, because the two tail lights on this thing are effectively indistinguishable from a distance. When doing this, I put some blue painters tape on the body, marked that with a sharpie, drilled, and when I went to remove the blue painters tape (after maybe 40 minutes), it pulled big chunks of the clear-coat off.