So I think the original workmanship on the HMV Freeway is intentionally trying to make me suffer at this point.
I had determined that the only place the remaining fuel odor could be coming from is dirt and other refuse stuck in the gaps between the steel frame and the fiberglass lower body. I know I certainly spilled a couple tablespoons of gas when removing the tank, mostly out of idiocy and the fuel tank hose having a bit of gas left in it, and it drizzling that fuel all over the floor of the freeway when I accidentally knocked it down from my (inadequate) attempt to prop it up.
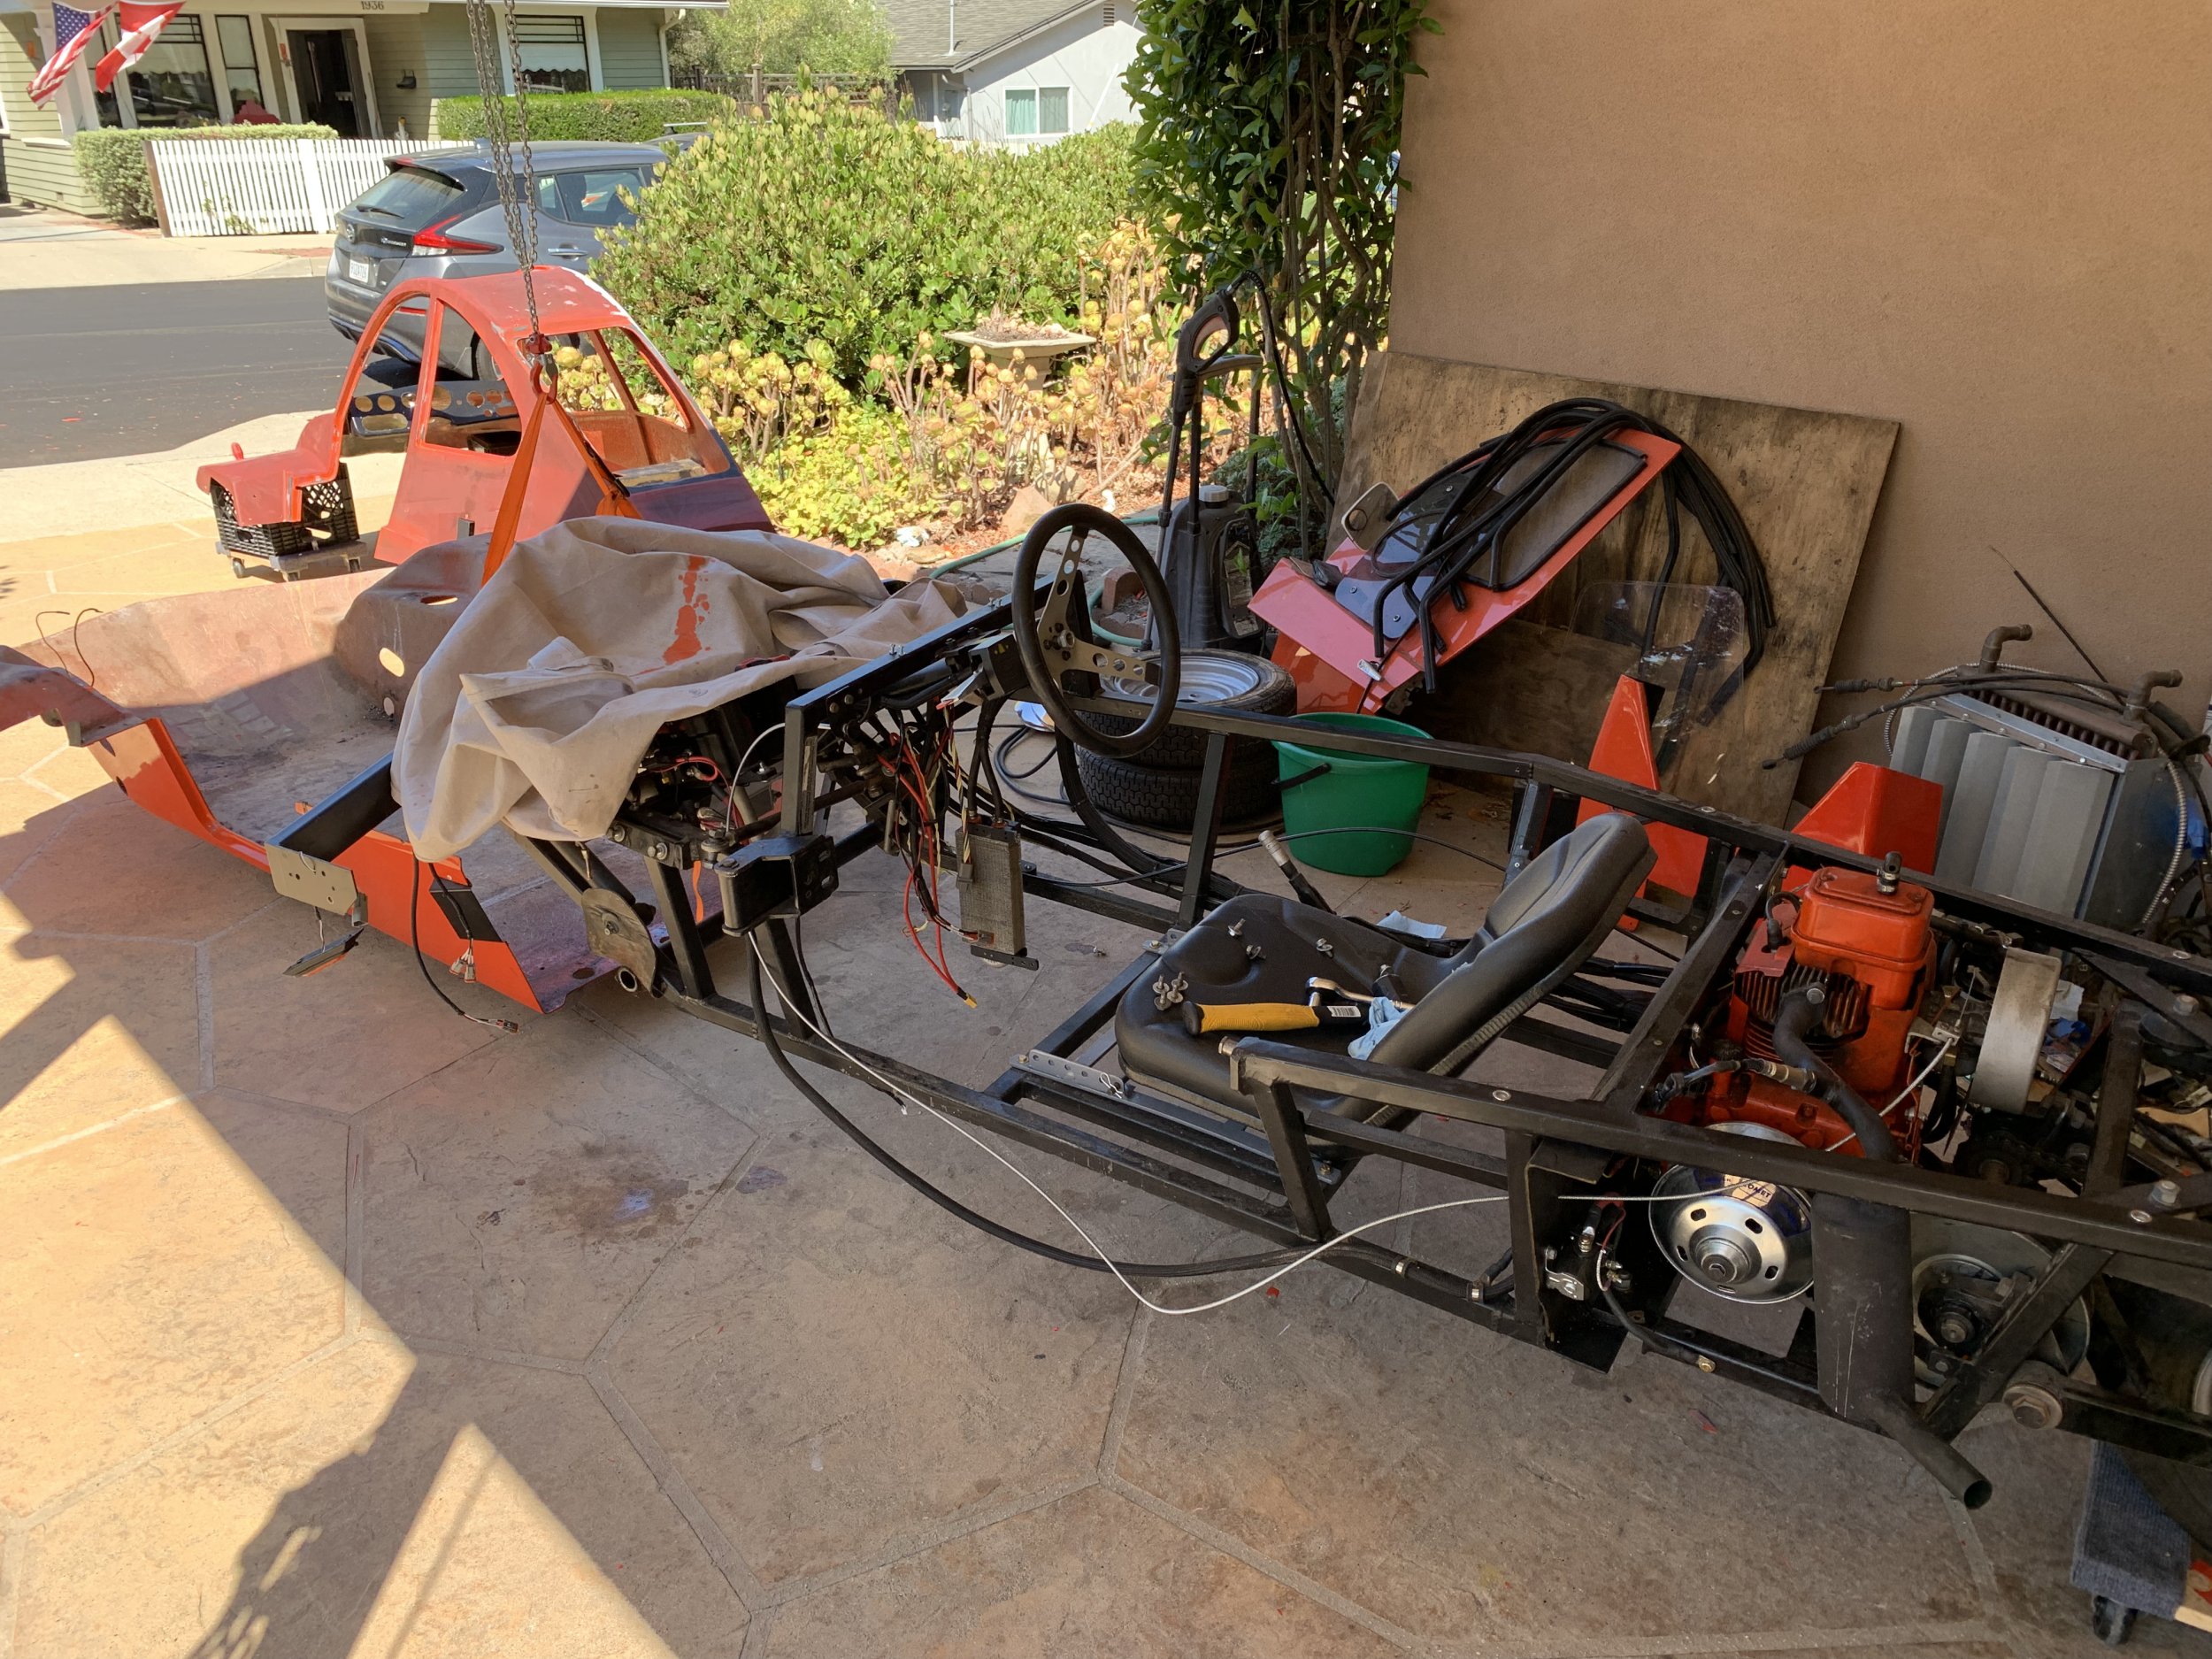
So. This means I get to have another adventure: removing the entire front suspension arrangement, because it goes through the body bottom half.
The main challenge here was I wasn’t sure how the main cross-body suspension member worked. I thought it was a torsion member (like a sway bar) to help reduce body-roll, but it appears it’s effectively just two separate arms with a through-bolt to hold them in. There’s no real lower-arm bearing, just a tube rotating in another tube. At least they have a grease zerk to allow you to force grease in between them.
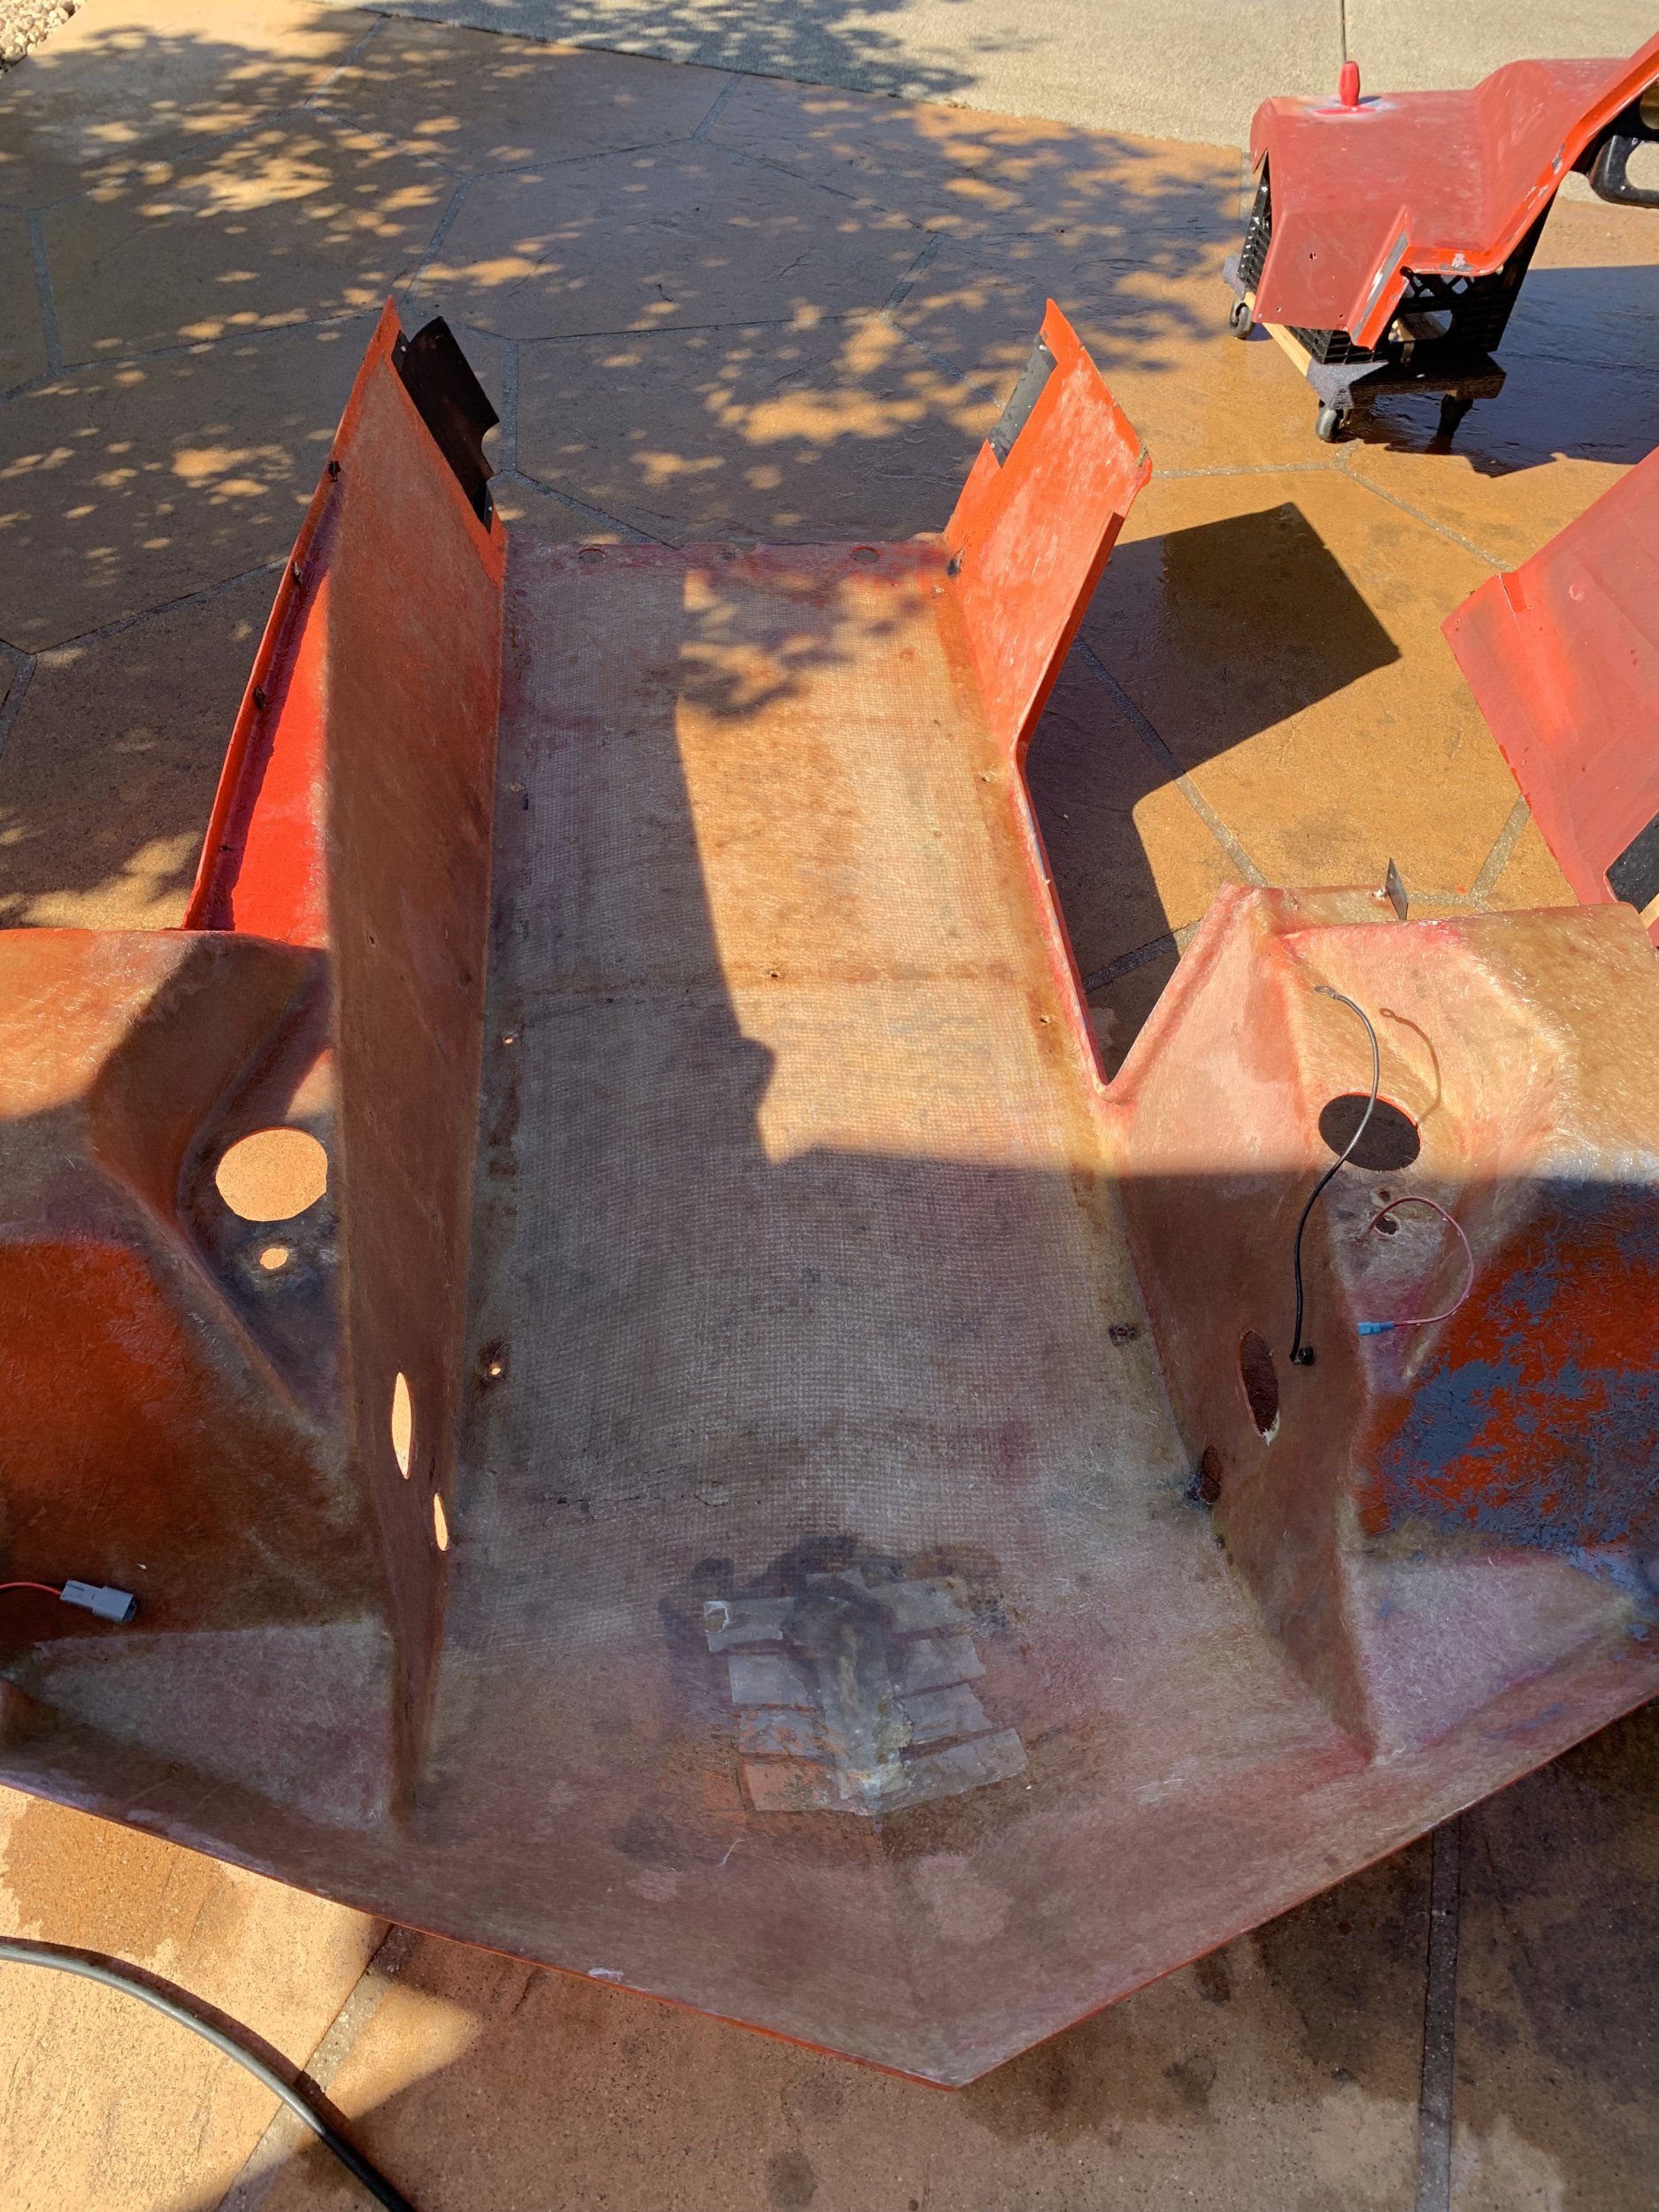
The real problem came once I had the bottom off and had power washed it. The original manufacturer didn’t put a top coat or any sort of sealing coat on the body inside, and loose strand fiberglass was somewhat exposed and starting to break away. Basically, I needed to re-seal the entire body interior.
As usual with a lot of stuff on this project the fact that I had to do a bunch of work on it means I wanted to take the opportunity to improve things a bit.
You can also see an existing (old) patch someone did on the nose here. I’m guessing they hit something (a curb?), and dented the lower nose a bit, and then did a (really poor) job adding glass on top of it to try to fix it. I imagine I’d find a bunch of body filler on the other side if I went looking (I don’t want to go looking). I’m also taking the opportunity to substantially improve that repair too.
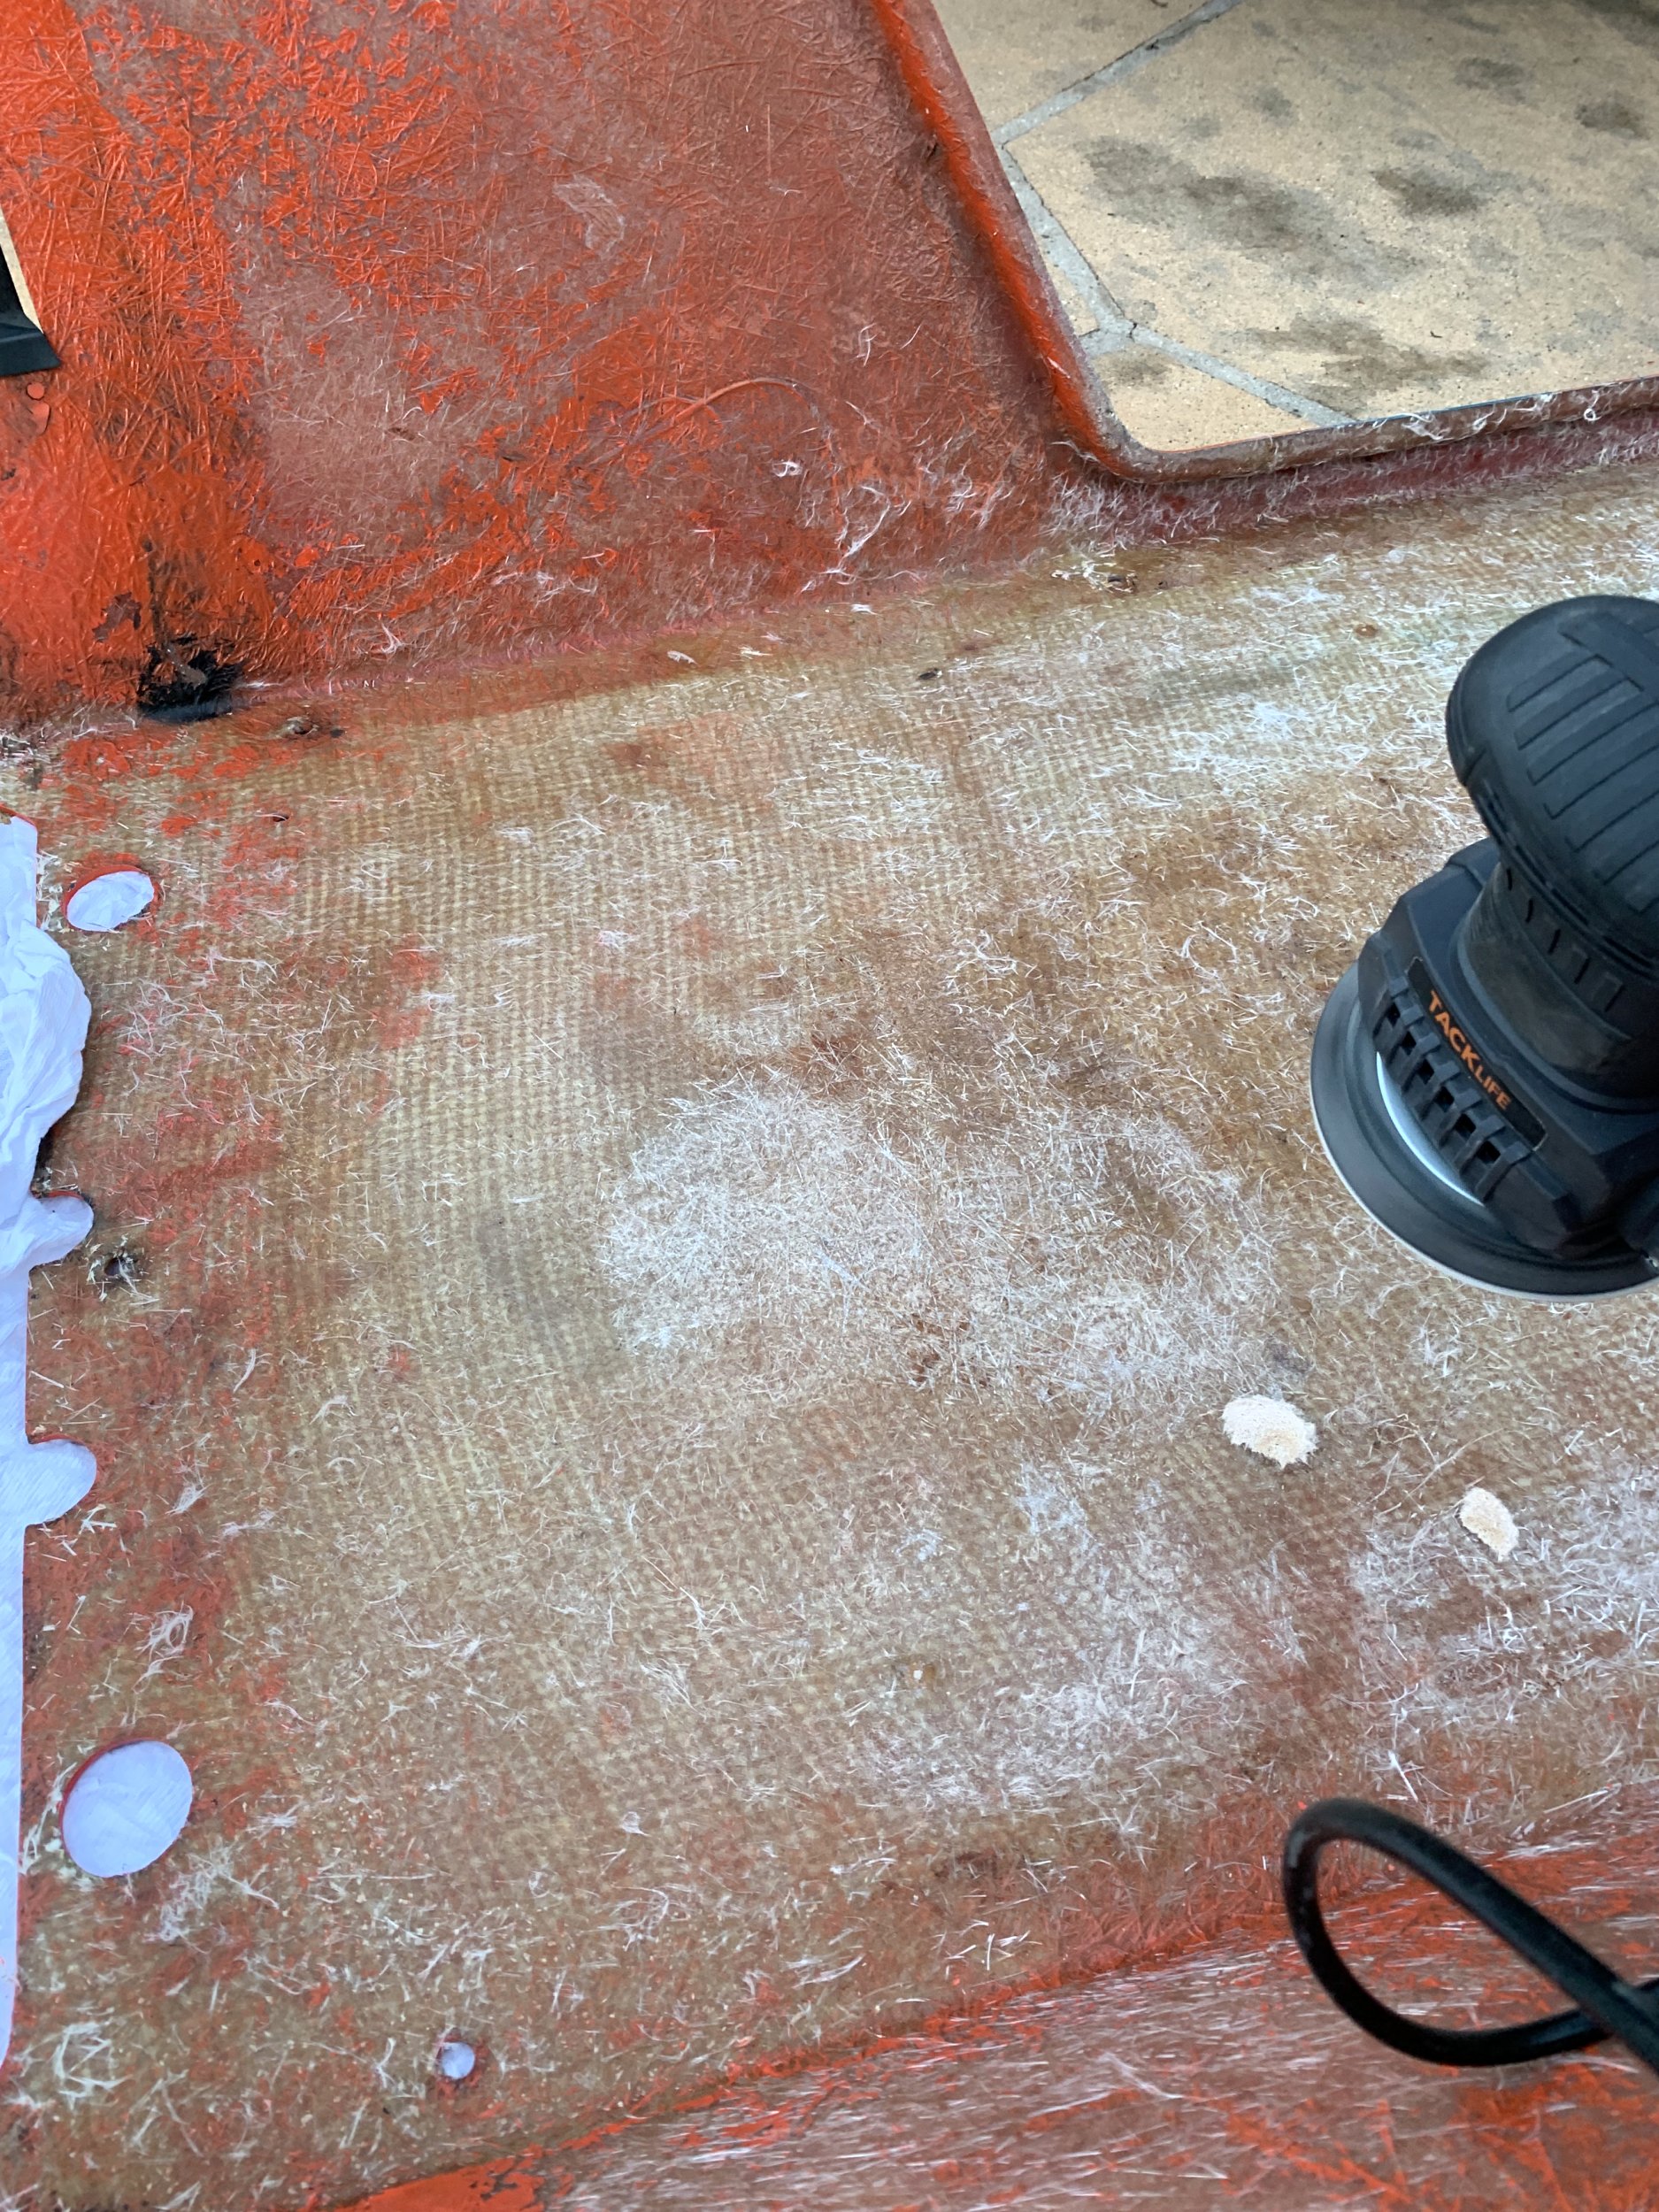
So, first step here was sanding out the entire body interior to give a good key for resin to bond to.
Next up, I have a giant roll of fiberglass fabric courtesy of a housemate who had purchased it for a project a long time ago, that he no longer wanted:
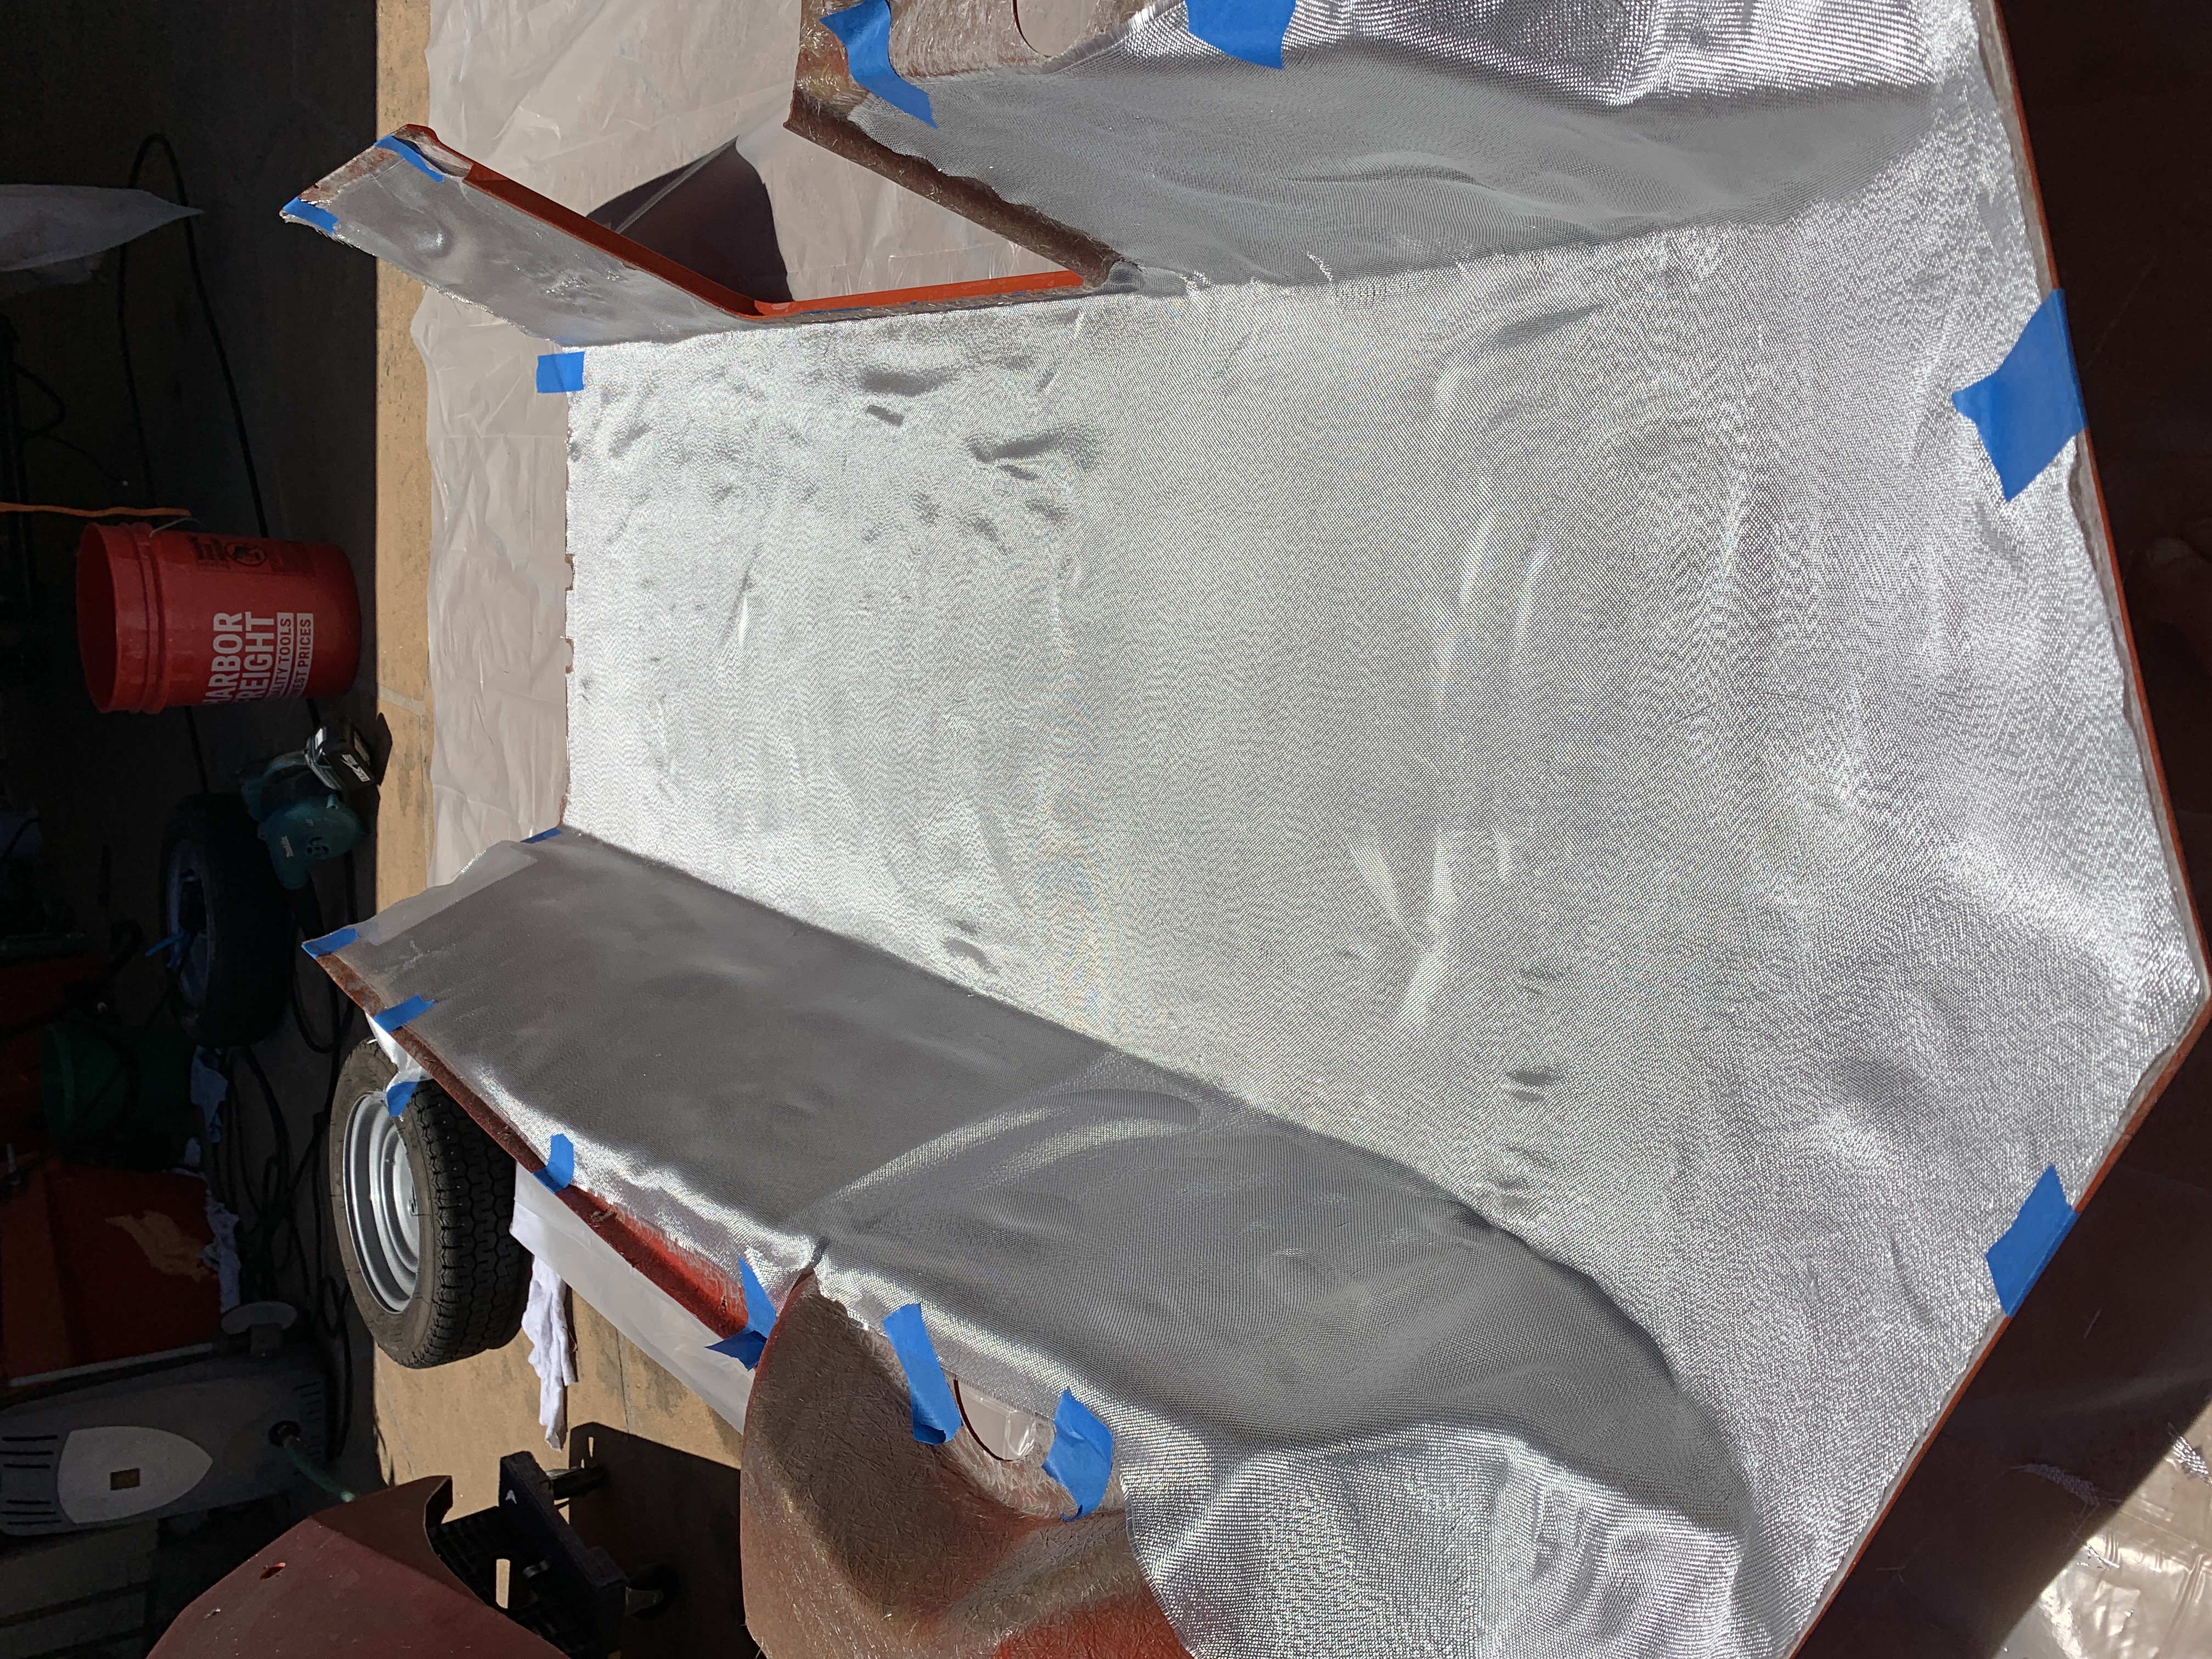
What you see here are 2 layers of fabric laid out to build up the interior of the body. Is this needed? No. Will it absolutely seal the existing glass? Yes.
I’m in part doing this because the lower body half is effectively the floor of the cabin, and I can notice it flex when I put weight on the interior surface. I think this is normal, but I’m not going to skip a chance to reinforce it a bit since I’m already doing a bunch of work here.
Not shown: I then spent about the next 4 hours mixing resin, and piecemeal wetting out the fabric. This is a large, rather fiddly surface to be coating, and it’s really not a project only one person should be doing, let alone directly in the hot sun. I had a number of issues that boiled down to areas gelling and hardening before I had a change to properly wet them out fully. I also ran out of resin 3/4 of the way through (even after buying a additional quart of resin before hand), and had to run out and buy more.
There are still a few bubbles I really should sand out and re-glass, but it’s been such an affair so far I think I’ll just ignore them. This is all extra, probably unneeded work already, and other then me, I don’t think anyone will really care.
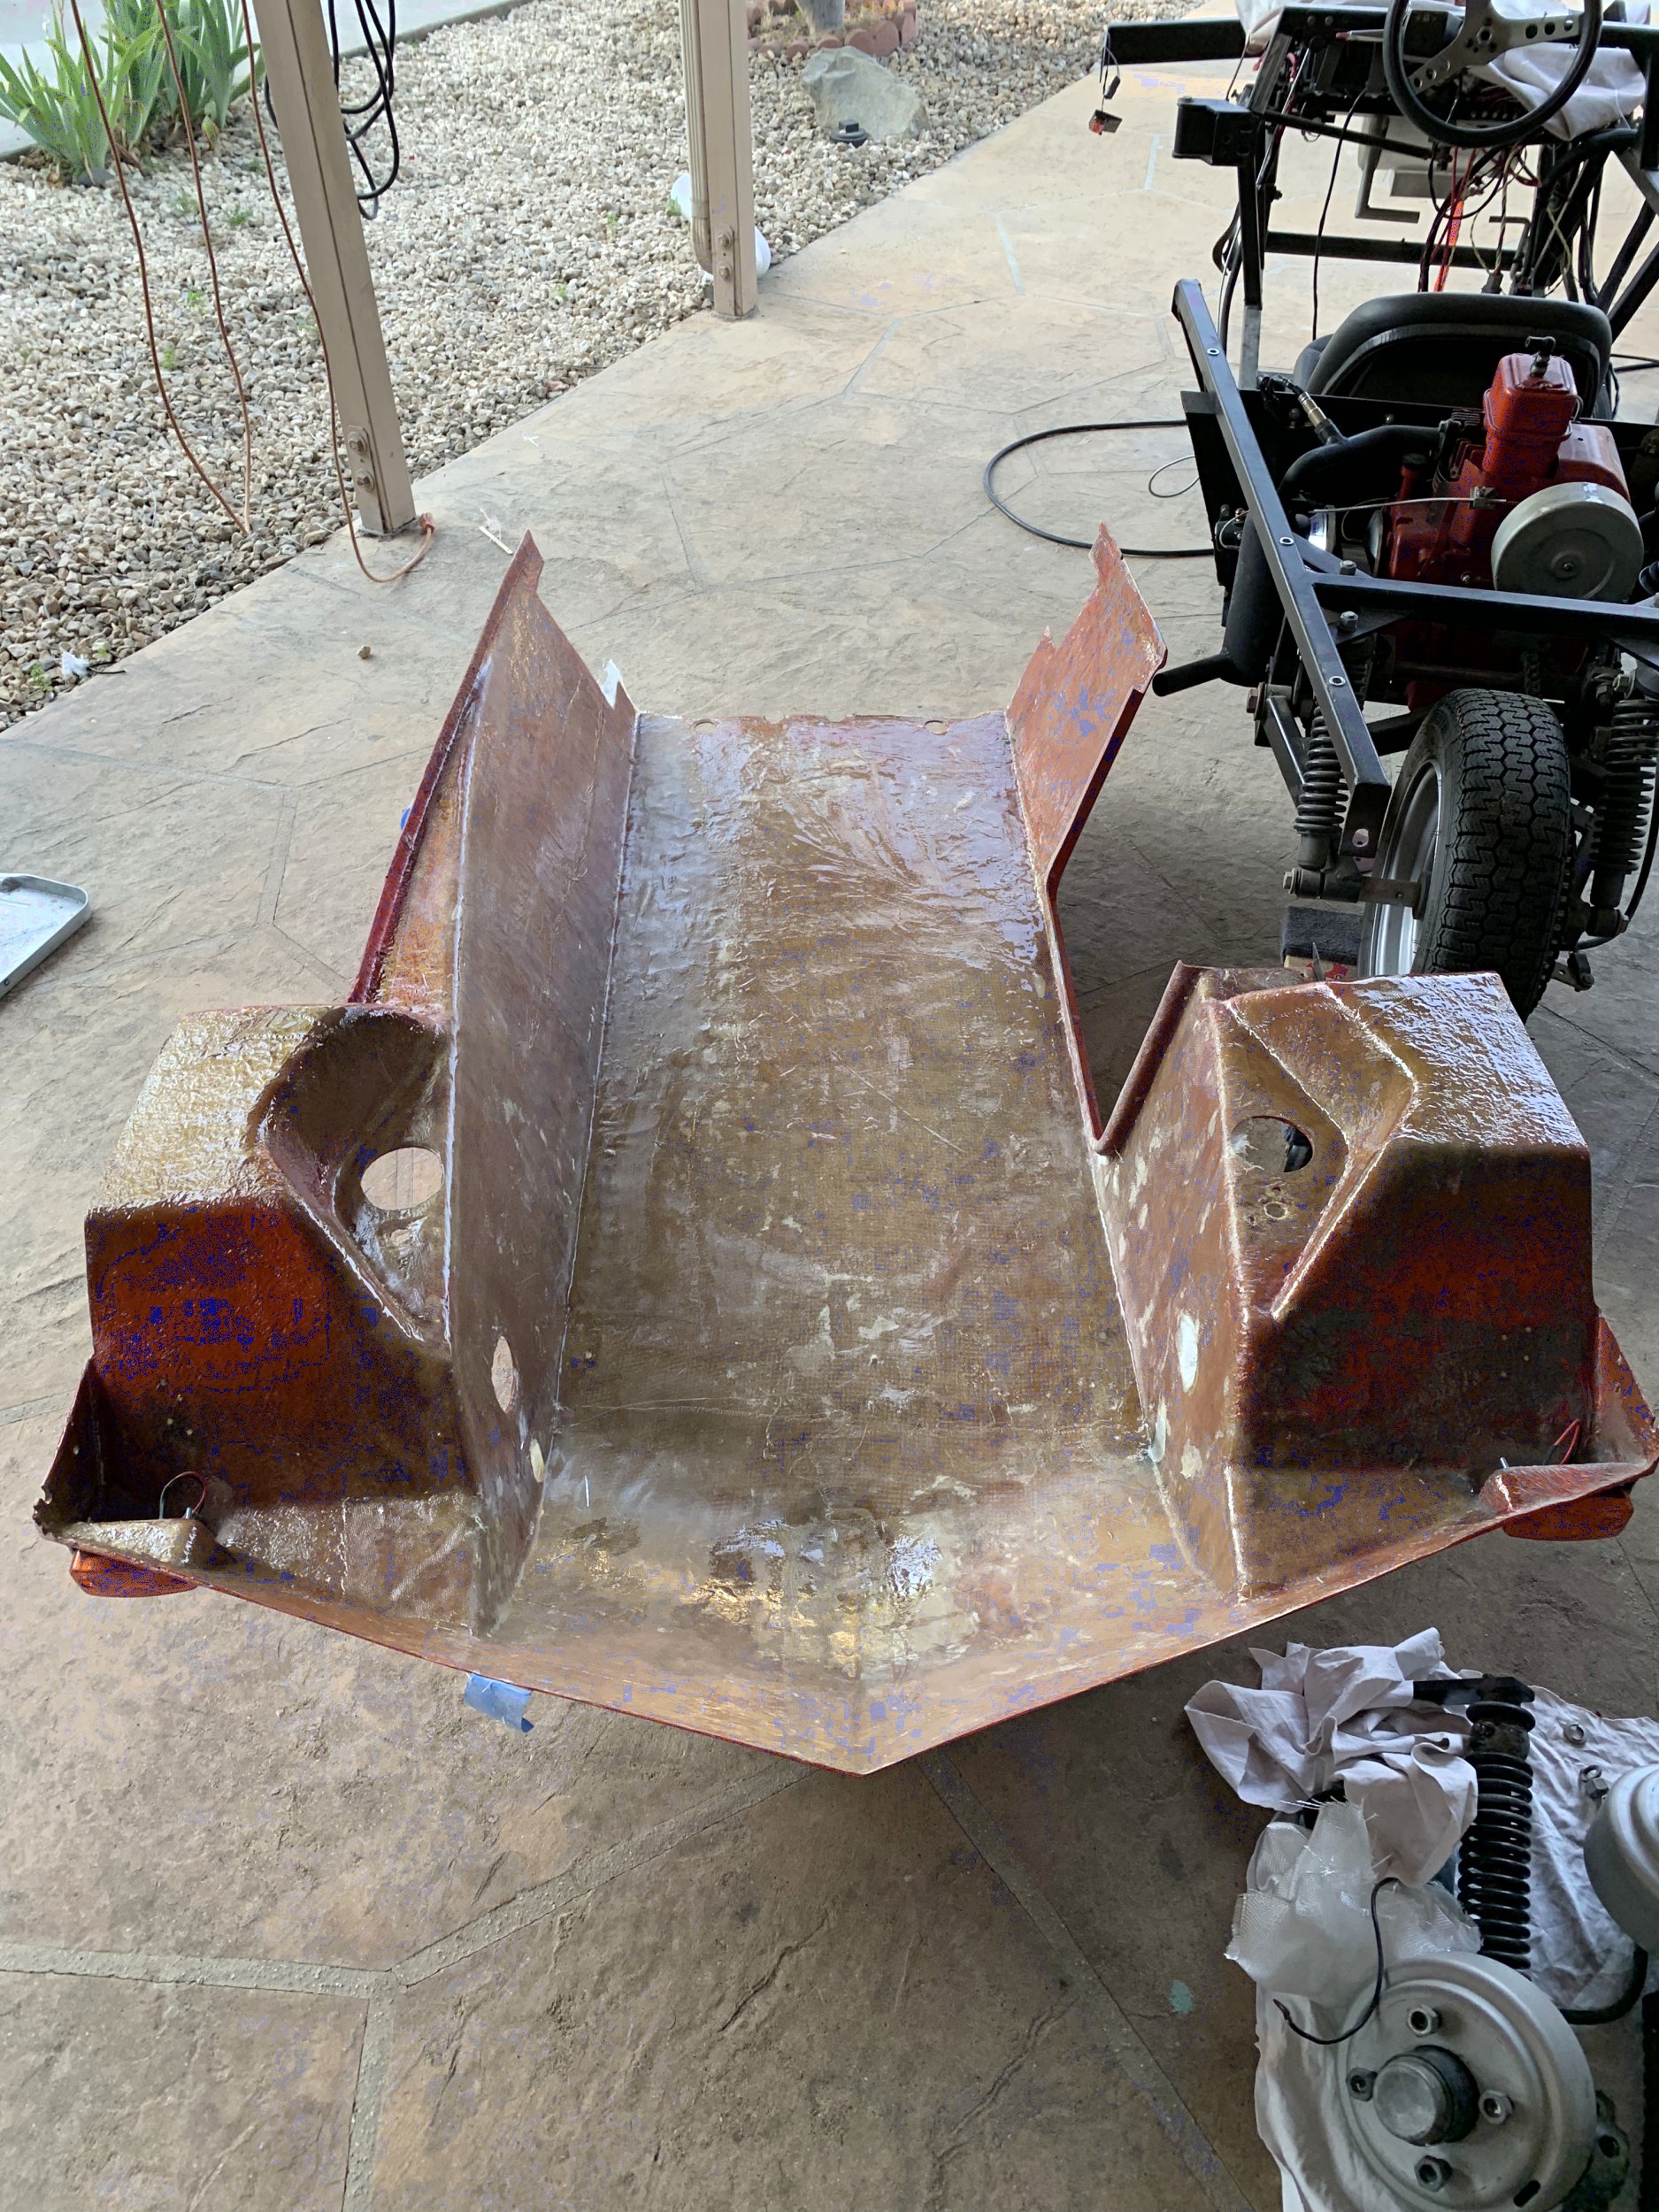
I then took some remaining resin and basically painted out the entire interior surface, to seal everything even in areas where I didn’t add fabric.
Remaining: I have to drill out the mounting holes (I just glassed right over them), and then actually clean the underside of the metal rails before reattaching everything.
At least I’ve managed to not completely knock the paint off the lower half (so far).